

- Top Games Like Overwatch - January 20, 2023
- Best Healer in Overwatch Guide - January 4, 2023
- Overwatch 2 Character Tier List - December 31, 2022
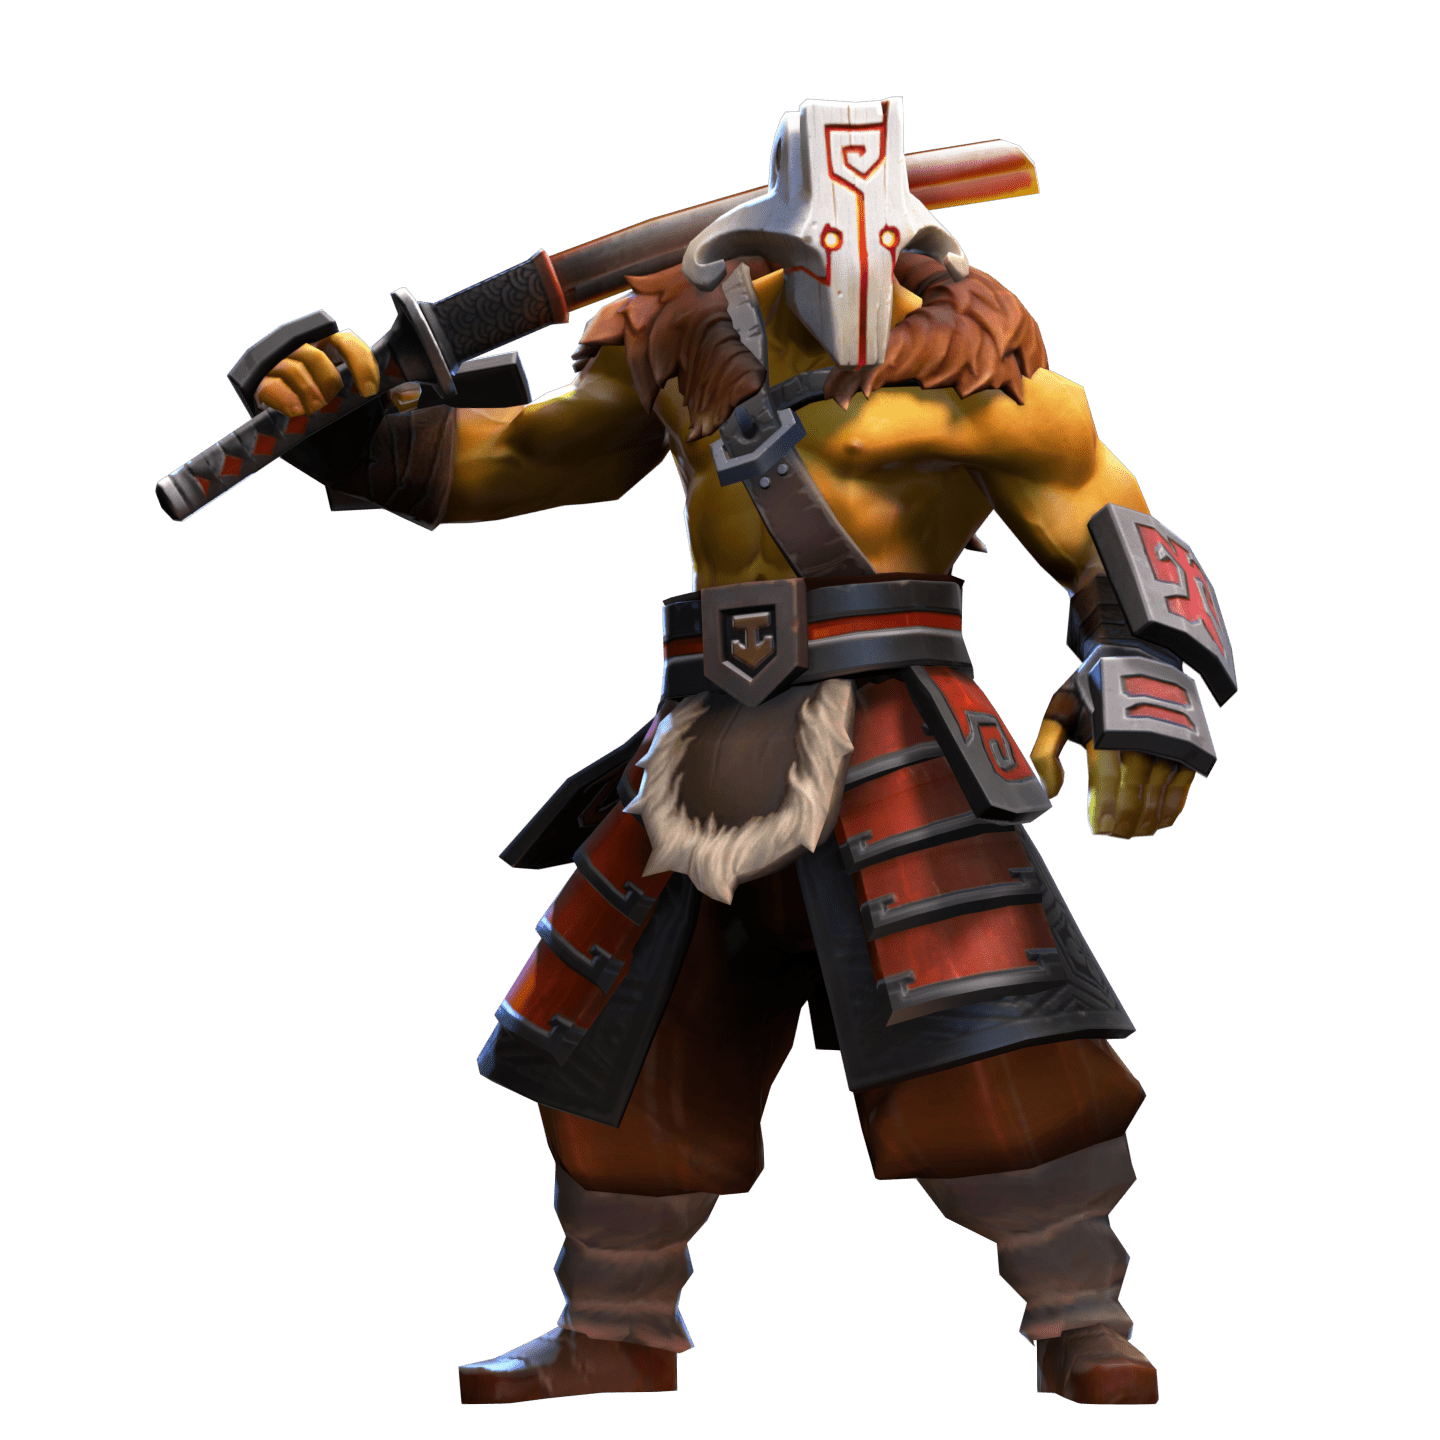
Juggernaut is an elusive carry that can provide great support in team fights. His Healing Ward can increase the team’s survivability during the mid-game and late game. Blade Fury allows the hero to get easy kills in the lane, while Omnislash can destroy enemies who dare wander alone on the map.
One of the rarely mentioned things is Juggernaut’s versatility. Although most people will play him as a physical carry, you can experiment with magical builds. In theory, he can even be strong support. Although Blade Fury makes him very annoying to opponents, this spell is a real blessing for allied supports who don’t want to be stuck in a lane with a hero who cannot contribute offensively.
In this Juggernaut Dota Guide, we will make a few build suggestions and share some tricks that will help you maximize the hero’s potential.
Key Info Up Front
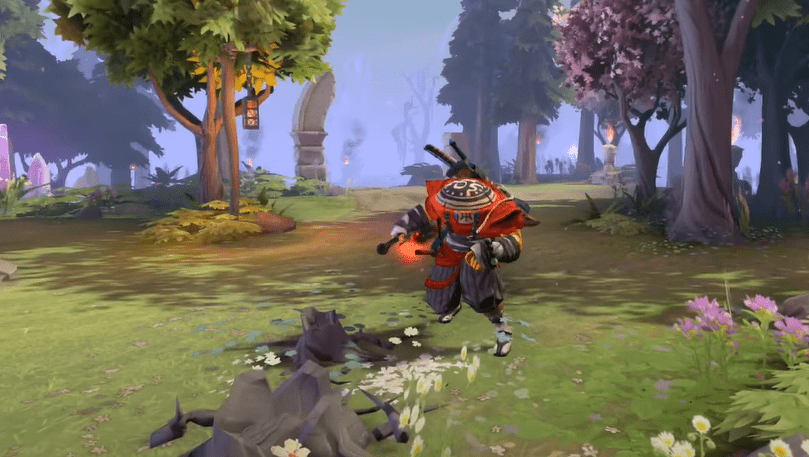
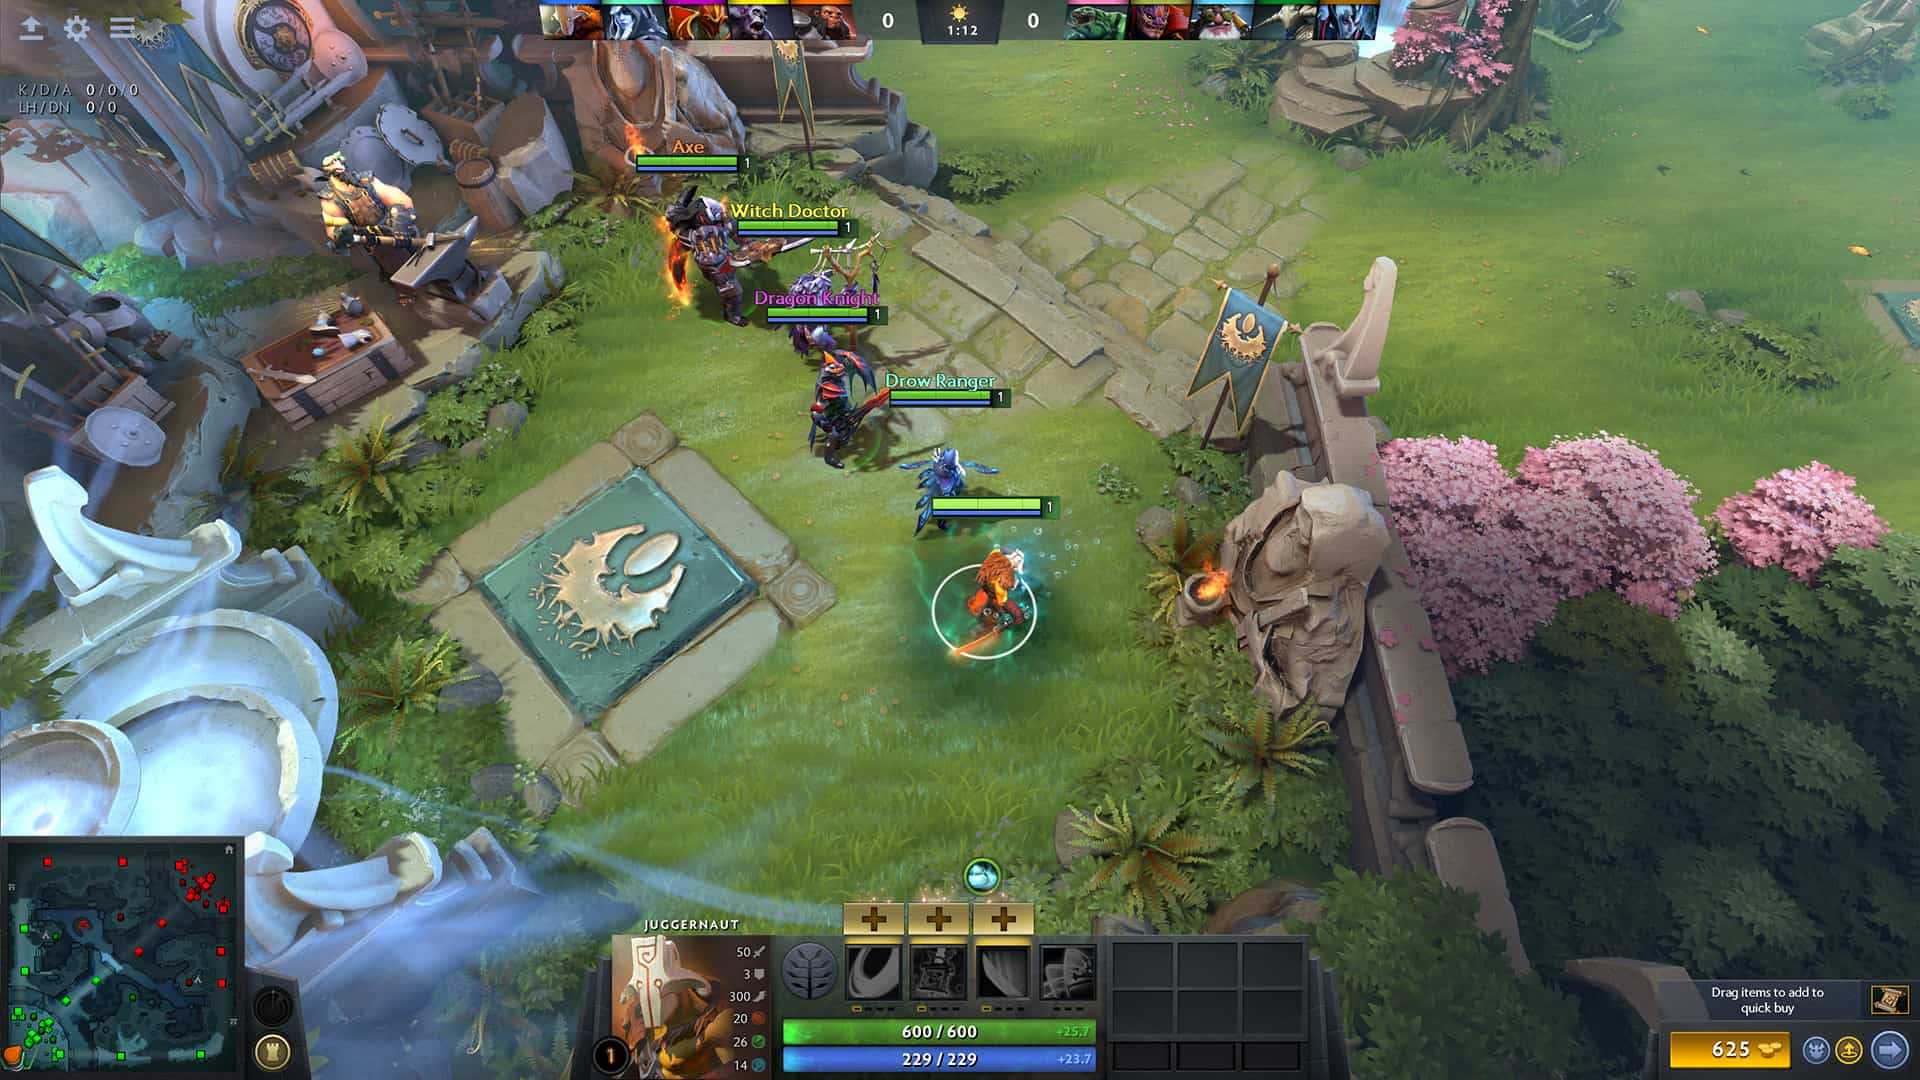
Juggernaut is a melee agility hero that scales almost linearly. Unlike many carries, he is very strong from the start, and with a good laning phase, he can be a real menace when as the game progresses.
- Health: 600
- Damage: 50-54
- Movement speed: 305
- Strength: 20 + 2.2
- Mana: 243
- Armor: 5
- Attack speed: 1.03 attacks per second
- Agility: 34 + 2.8
- Intelligence: 14 + 1.4
- Spells and abilities: Blade Fury, Healing Ward, Blade Dance, Omnislash
- Special abilities: N/A
- Strengths: Strong from the very start, great against a single enemy, amazing supportability for a carry
- Weaknesses: Not the best late-game carry, fragile without Blade Fury
Basic spells
Juggernaut is very reliant on Blade Fury. This can sometimes be a problem because many players will avoid buying Black King Bar. His Omnislash can be very strong depending on how you use it. Unfortunately, it can also be very underwhelming.
The hero doesn’t have any disabilities, but it compensates with good mobility. Blade Fury gives him magic immunity, which can be great for offensive engagement and defensive retreat. Juggernaut excels at sieging as Healing Ward can provide a long-lasting sustain.
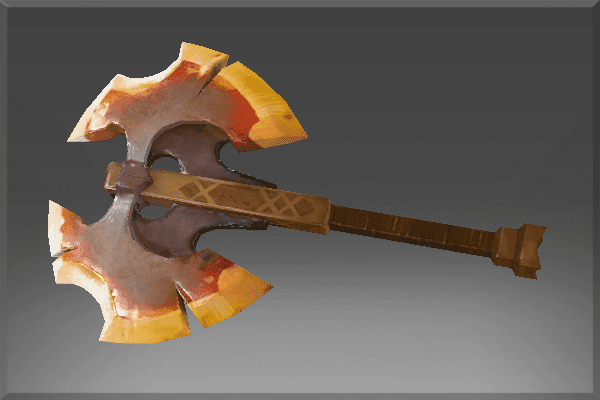
Blade Fury
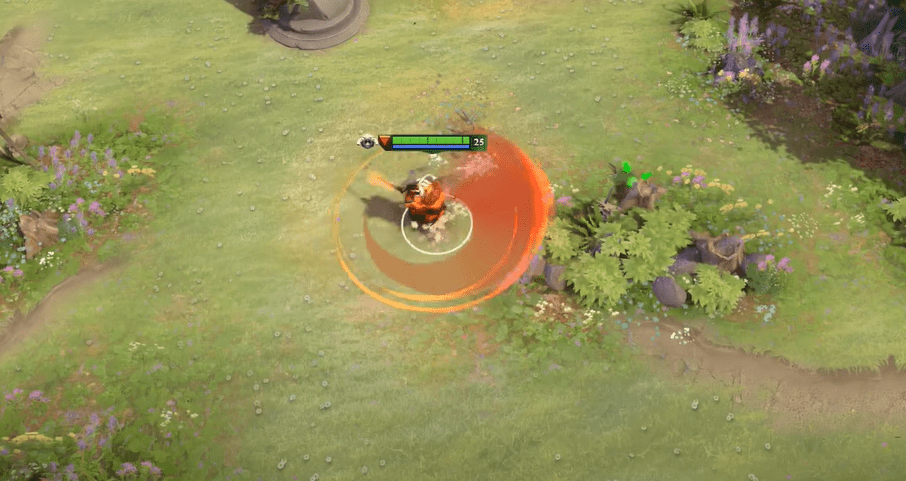
During Blade Fury, the hero will start spinning around and cutting everything in his path. The character is immune for its 5-second duration. This allows him to run into the fray and pop Blade Fury as soon as the enemy tries to cast a spell on him.
At the 4th level, the spell does 165 magic damage. If you consider it lasts 5 seconds, that will make a total of 825 damage if you stay close to an enemy for its whole duration. Blade Fury makes Juggernaut very potent when coupled with support who has slow or disabled. Lich, Venomancer, Grimmstroke are some of the best choices for a partner.
If you manage to get the full damage on an opponent, you can kill almost any hero in your lane. Even later on, Blade Fury can be used for its magic immunity. Often, players couple this spell with Omnislash to deal massive amounts of physical and magic damage. The ability can still be strong in mid-game if you decide to build items that boost magic damage.
Healing Ward

Although people hate Blade Fury for its high magic damage and the fact it provides immunity, it is nothing compared to Healing Ward. Many people disregard this spell, but it can win a lot of team fights. Don’t be surprised if Juggernaut provides more heal to his team than some other defensive supports.
When you cast Healing Ward, a small movable ward will spawn on the ground. It travels at 325 movement speed, which allows it to follow allies and stick to them. The ward lasts 25 seconds, and it heals 5% of allies’ health per second. This makes it especially great in the mid-game and late-game when other heals start to drop off (as most heal have static, unchangeable values). What’s even better, it works for all the allies within a 500 radius.
Another thing that makes this spell so strong has to do with its model. Healing Ward is very small, making it hard to click on. If Juggernaut puts it on top of an allied hero, it will be almost impossible to click on the ward, as you will be clicking on the hero.
Lastly, it is worth mentioning that the hero can cast this spell during Battle Fury, Swiftslash, and Omnislash.
Blade Dance
Blade Dance is the hero’s passive that provides a critical strike chance. The ability provides a 20%/25%/30%/35% chance to deal 180% critical damage. It is a pretty straightforward ability that further increases his output.
It is worth noting that this is one of the weaker critical strikes in the game. The only saving grace is that it lands more frequently (35% is a pretty high chance for these attacks). The ability also works with Omnislash and Quickslash.
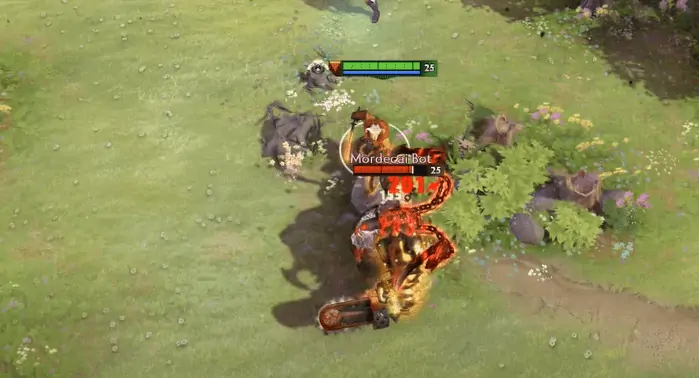
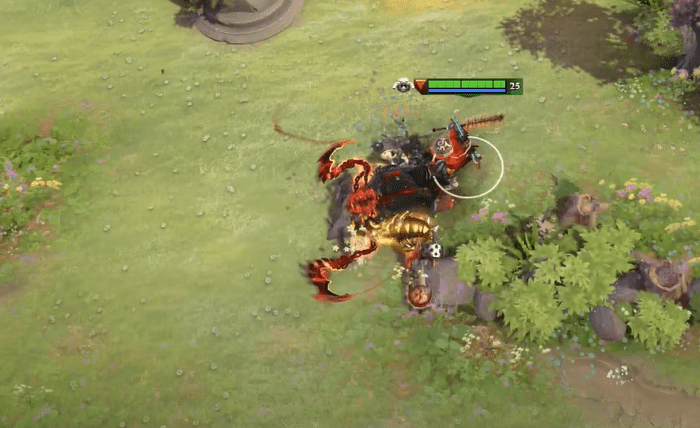
Omnislash (Ultimate)
Omnislash is one of those spells that makes you feel like a ninja. At times, it can be completely broken.
The hero will become invulnerable and start slashing various targets, jumping from one to another if there are several of them. At the 3rd level, Omnislash will last 3.5 seconds, during which Juggernaut will perform numerous attacks based on his current attack speed and damage. On top of that, the hero will receive an attack speed boost during the spell.
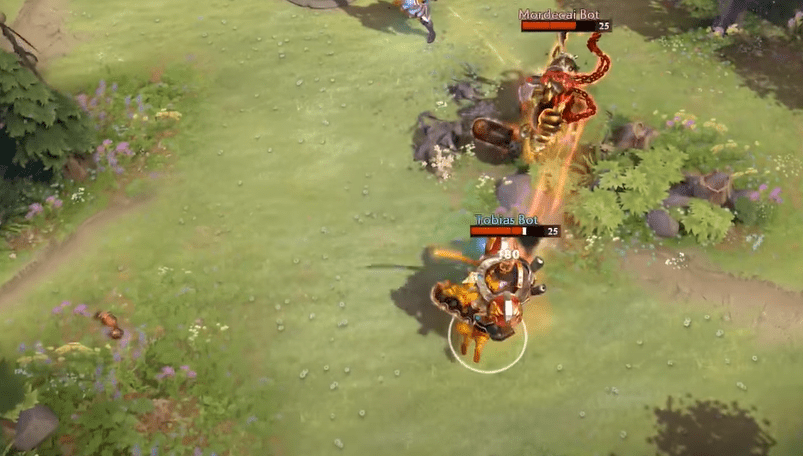
An onlooker will only be able to see a slashing blur. If there is just one target, it will take the full brunt of the ultimate. Ideally, opponents should try to group up so that the Juggernaut jumps from one opponent to another, evenly distributing damage instead of killing one hero. The more attack speed Juggernaut has, the more slashes he will perform.
If an opponent becomes invisible or if it goes into a fog of war, Juggernaut will stop jumping on it. Omnislash works with all procs, attack, and damage modifiers.
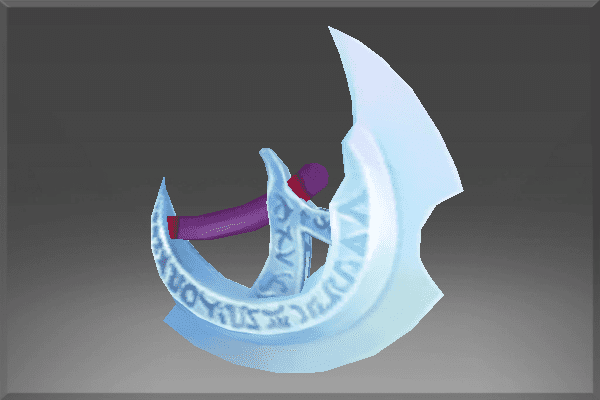
Swiftslash (granted by Aghanim’s Scepter)
Swiftslash is a variation of Omnislash, which you get with Aghanim’s Scepter. The main difference is that Swiftslash is much shorter (0.8 seconds compared to 3.5 seconds), and it doesn’t give an attack speed boost. You can recognize it based on a blue blur that Juggernaut leaves when jumping around (compared to yellow made by Omnislash).
Although the spell can feel a bit underwhelming, it has a short cooldown of 20 seconds. This means you can cast it several times during a fight. Swiftslash will make you invulnerable and can be a great spell for dodging projectile, other spells, and removing debuffs.
Using both Swiftslash and Omnislash will effectively prolong the Juggernaut’s invulnerability during team fights. This itself can be good as the hero is very squishy, and you just want to maximize the damage while not exposing yourself to the enemies.
Juggernaut is awesome in many ways. Although he shouldn’t be called a glass cannon, his health points are not that high. Funny enough, the hero’s offensive spells are also his defense. But, if you wish to go full out and kill as many enemies as possible in a short time span, this is one of the best heroes to do so.
Since Omnislash makes him invulnerable and Blade Fury makes him magic immune, many Juggernaut players avoid buying defensive items. However, you will still need to get something to protect you in between these abilities.
Laning
Juggernaut has one of the most damaging level 1 spells in the game. That is if you can get its full duration. Blade Fury should be maximized as soon as possible because it gives you an enormous kill potential. You will also need a point in Healing Ward and Blade Dance. Depending on the situation in the lane, you will get either Healing Ward (if you’re being pressured) or Blade Dance (for additional offense and last hitting) as the second ability.
Offensively, Juggernaut doesn’t have many flaws during the laning phase. He is quick, maneuverable, with strong passive and lots of magic damage. Where he struggles is mana. For example, your mana pool is too low to cast both Blade Fury and Healing Ward. In theory, you could make several kills in a row with the right support. But to do so, you would have to continuously regenerate mana with Clarities.
Anyway, your laning phase should be a precursor for the rest of the game. If your fair well, it will be much easier to transition into the mid-game. Juggernaut who fails in the lane will find it hard to recover. Furthermore, even if you get Battle Fury at the same time as the opponent, you will likely be disadvantaged.
For a hero to have a good game, he needs to be one step ahead of the opponents.
Mid Game
Juggernaut can and should be active during the mid-game. Ideally, you should finish the match before the 40-minute mark. Although you will probably buy Battle Fury or Maelstrom to increase the farm rate, you should push with the team as often as possible.
Your main goal would be to take as many towers during this period and reduce enemies’ farming area. If you manage to control the map, you can suffocate enemy carry, prolonging your window of relevancy.
During mid-game, you will rely heavily on Healing Ward. Juggernaut should cast the spell at the beginning of an engagement. That way, you can save squishy support and frontliners. Some players are stingy when it comes to their usage of the ward. But you should go against this urge. Saving as many allies as possible will make it easier to push after teamfights.
If you wish to fight somewhere, it is much better to choose areas with as few creeps as possible. In other words, fighting in lanes is worse than fighting in the woods. Before using your Omnislash, make sure there are no unnecessary targets nearby so you can maximize its potential.
Late Game
Although Juggernaut is a good pusher when he has an advantage, it becomes harder to push tier 3 towers as the late game approaches. This is especially true if you’re going against strong ranged carries such as Medusa, Drow Ranger, or Sniper. Not only can they easily dispose of Healing Ward, but they will also have enough damage to quickly kill Juggernaut.
Even with Aegis of Immortal, you shouldn’t feel safe.
Depending on the situation, you might need Blink Dagger or Abyssal Blade (Blink Dagger to jump on ranged carries, Abyssal Blade to fight melee). Although you will have a disadvantage against most other carriers, you still have Omnislash, which can turn the battle around.
At this point, having a Refresher Orb and Black King Bar might become important, even though these are not the items you would often see on the hero.
Itemization (Core items)
Battle Fury
This item has been synonymous with the hero for many years. Simply put, it gives Juggernaut everything he needs. It will allow you to farm woods, and it gives you extra damage. One amazing perk of having a Battle Fury is that you will have better mana regeneration.
Maelstrom and Mjollnir
This is a great pickup if you don’t wish to go Battle Fury but still need a farming item. It is also cheaper, so you will get it earlier. Maelstrom is especially great with Omnislash. The item shines on Juggernauts that prioritize attack speed, as it would give you more potential procs. Later on, you can turn it into Mjollnir to get even more attack speed and Static Charge ability.
Manta Style
Manta Style is a great way to remove some nasty debuffs and to avoid projectile spells. Given that Juggernaut players rarely buy Black King Bar, this is a way of adding a layer of survivability. Although you can also remove debuffs with Blade Fury, Manta Style is used when the spell is on cooldown, and you need to escape.
Alternatively, you can use it to remove silence, which would prevent you from using Blade Fury. Lastly, the item will give you some extra health, agility, movement, and attack speed.
Sange and Yasha
This is another great item for the hero. Sange and Yasha provide a nice mixture of strength and agility, coupled with increased damage, attack speed, movement speed, and higher status resistance. Sometimes, players buy Sange and Yasha instead of Battle Fury or Maelstrom.
This is a great fighting build as it would allow Juggernaut to become active immediately. Although you won’t be able to scale as well, you can dish enormous damage during the middle portion of the game. Sange and Yasha are much better if you wish to finish the match quickly.
Skull Basher and Abyssal Blade
One of the hero’s weaknesses is a lack of disabling. Although you have enough nuke to compensate during the mid-game, lack of a stun becomes a problem when you go one-on-one in the late game. Even if you dish lots of punishment, other carries can turn around the situation if they’re left alive. To circumvent the issue, you can get Skull Basher and, later on, Abyssal Blade.
Eye of Skadi
Eye of Skadi is often bought as the third or fourth item. It provides lots of stats to Juggernaut, improving his ability to fight one-on-one. Besides reducing opponents’ movement and attack speed, it also reduces lifesteal, regeneration, and healing effects. It is also amazing for chasing.
Itemization (Optional items)
Black King Bar
Black King Bar is one of those items that Juggernaut players never want to buy. It is even rare in professional games. You should get it when there is so much lockdown on the enemies’ team that you can’t even cast your spells.
Aghanim’s Scepter
Some people love Aghanim’s Scepter on Juggernaut. I hate it. It doesn’t give the hero enough stats or health, and Swiftslash is often underwhelming. Instead, it would be much better if you bought a damage item.
Desolator
Desolator is a very old build for Juggernaut. It provides a significant improvement to your damage output. You can even say that it works well with Omnislash as you will likely jump on several targets, leaving a debuff on each one of them. Unfortunately, it doesn’t give you survivability, and if you don’t make a major impact, you will fall off quickly.
Blink Dagger and Swift Blink
If you’re having trouble reaching opponents, you can buy Blink Dagger. Juggernaut benefits from the item in several ways. First, you can better position yourself before casting Blade Fury or Omnislash. Second, it can be great if you have Abyssal Blade as it would allow better initiation. Later on, you can turn it into Swift Blink, an item that is incredible on almost every carry.
Refresher Orb
Unlike many carries, Juggernaut benefits a lot from Refresher Orb. Omnislash has a cooldown of 140 seconds, and Healing Ward has a cooldown of 60 seconds (40 with talent). Both of them are crucial for teamfight success.
Butterfly
Butterfly is another item for battling enemy carries. It provides lots of damage, attack speed, and, most importantly, evasion. Although good against ranged and melee heroes, Butterfly is especially incredible when sieging against ranged carries as it will allow you to get additional hits before being pushed back.
Aghanim’s Shard
Although somewhat gimmicky, Aghanim’s Shard provides some value on Juggernaut. With it, your Blade Fury will get an additional 100 movement speed and will attack random enemies for 75% damage.
The Shard allows you to use Blade Fury, thus avoiding magic damage, and still do your physical damage for the duration. The item shines for magical Juggernaut, making his primary spell that much more devastating.
Talent Builds
Level 10 (+75 Blade Fury radius OR +5 to stats)
As the game progresses, Blade Fury becomes more of an escape mechanism. Sometimes, you will use it to charge into enemies so you can activate Omnislash. But its damage becomes irrelevant later on. The only exception is the rare magical build for which this talent is crucial. Additional stats are always better, especially if you consider the fact that the hero has low health and mana.
Level 15 (+20 attack speed OR -20 seconds Healing Ward cooldown)
This is a bit harder choice. If you just want to nuke the enemies, you should go for attack speed. The talent always has value and works well for procing items such as Maelstrom. However, we cannot neglect the importance of Healing Ward for the team.
The cooldown reduction is massive, and you will be using it for sieging. The downside of this talent is that you can simply wait for another wave of creeps to activate Healing Ward without taking any risks.
Level 20 (+160 Blade Fury damage per second OR +8 armor)
The main issue with +armor is that it will become redundant. Juggernaut has a high armor gain as it is, so by the time you reach level 20, additional 8 armor will barely make any difference. Increased damage on Blade Fury is also not that important for physical carry, but it might provide some value depending on the situation.
Level 25 (+1 second Omnislash duration OR +475 health)
Like many other level 25 talents, both of these are good. The only question you need to ask yourself is whether you need more offense or defense. If you land a nice Omnislash, that one second of a difference can break the game for you. Then again, 475 health can do the same. I suggest that you make a decision based on the situation on the field.
FAQs
Question: How do you play Juggernaut?
Answer: Juggernaut is a carry that relies heavily on positioning. When you play the hero, you should try to isolate opponents’ cores and kill them with well-timed Omnislash. Healing Ward will provide support for your team, while Blade Dance will give you enough damage to quickly dispose of opponents.
Question: What does Juggernaut mean?
Answer: It is a term that explains massive force or an unstoppable object that crushes everything in its path.
Question: What should I buy for Juggernaut?
Answer: After Phase Boots and Magic Wand, you should buy Battle Fury, Manta Style, and other items depending on the current situation on the battlefield.
Last Considerations
In many ways, Juggernaut can seem like an abusive hero. He was always one of the rare carries who can make several quick kills during laning phase, regardless of the patch. Blade Fury often feels so broken that offlaners don’t know how to prevent imminent death.
As soon as the hero gets to level 6, you have to worry about another potent skill. Killing a hero in one Omnislash will make you feel great, while your enemies will scream, “You only press one button all game long!”
Despite his straightforward spells, the hero requires a lot of skill and a good understanding of team push strategy. If you master Juggernaut, you will become a much better team player on other carries as well.