

- Valorant vs Apex Compared - January 11, 2023
- Ascent Valorant Guide - September 22, 2022
- Haven Valorant Guide: The Unique Three Site Map! - August 18, 2022
Only a few classic maps are left for Valorant competitive. Especially after the removal of Split from the competitive queue and the addition of Pearl, only Ascent and Bind are present in their original conditions. After the removal of Split, Ascent is my favorite of every map available in Valorant! You will find me jumping with joy (and insta-locking Killjoy) whenever I see Ascent on my screen.
While the map isn’t as big as Icebox, Breeze, Haven, Fracture, or Pearl, there are multiple ways to gain entry to a site.
Seeing Ascent after a ‘Match Found’ announcement is a sight for sore eyes! Mainly because it is one of the initial maps of the game, and I have memorized every small detail on the map, which can give me an advantage over my opponents.
While it is a small map, there are a lot of factors to consider when playing Ascent, and split-second decisions can turn the match around completely.
If you want to improve your game in Ascent, then you’re at the right place! The Ascent-Master himself has carefully formulated this guide! I am as good as they come when Ascent is concerned, and in this post, I am here to guide you on how you can become a master of this map in Valorant as well!
In this Ascent Valorant guide, let’s jump into the map’s details, the best approach to take on each side, and which agents are the best/worst for the map.
Map Outline

The map is straightforward with A and B bombsites and middle for each site. B Mid – defense perspective and A mid–attacker perspective serve as great oping points.
Compared to maps like Fracture, Breeze, and Bind, the average distance between bomb locations is not that large. The defenders and the attackers can rotate quickly. Still, the map’s layout makes the middle portion particularly a danger zone because of its exposure from all ends, so players need to rotate carefully while keeping their guards up at all times.
The B-site of Ascent is the part in which you practice bomb planting in the training part of the game. The map has a ton of elements, all of which have advantages and disadvantages to each side at different moments in the game.
I found the map to be more defender-focused, but it would be wrong to say that I have never seen attackers flip the odds in their favor in Ascent with amazing gunplay. The key to winning in Ascent requires knowing the tiny details of the map, recognizing how your opponent responds to certain moves, and gaining the upper hand over them.
Read on to find out what is the best approach for attackers and defenders in Ascent.
How To Attack In Ascent?

Attacking the A-site on Ascent boils down to eliminating targets from cover. This requires the services of both Controller and Duelist agents.
The Controllers will set off smoke bombs in strategic locations; in the case of Ascent, those locations would be the Door, Heaven, and Hell. Smoking out the place is easy with a Viper smoke lineup and her wall thrown from A-main to conceal the entrance.
If you use smoke bombs in addition to your duelist’s flashes, you’ll make it much more difficult for the opponents to see you and kill you as you attempt to gain entry.
After entering the A-site, closing the Door immediately after that is an essential step. It will prevent the enemy from retaking the site via the Door, and if they attempt to break through, you will know precisely where they are. Once the Spike has been planted, all that is required is to guard the primary angles like the ramp while keeping an eye out for flanks and Main.
I usually rely on faking and rotating in Ascent when I’m on the Attacker’s side. Mainly because the map is not that large, and rotation is quite easy.
You wouldn’t believe it, but in the first round on the attacking side, I grab the Spike, hide in the B lobby, and wait until my friends shoot blindly on A-main. After waiting for about 5 – 10 seconds, I push the B site and quickly plant the Spike and my abilities (I main Killjoy in Ascent).
I close the market door and run toward B main, as my teammates quickly make their way to defend the Spike!
This technique works 90% of the time (the only time it doesn’t work is when an enemy spot you while backstabbing or you walk in a Chamber trap/Sage’s wall on your way to the site)
Here is a site-specific rundown of how to attack in Ascent.
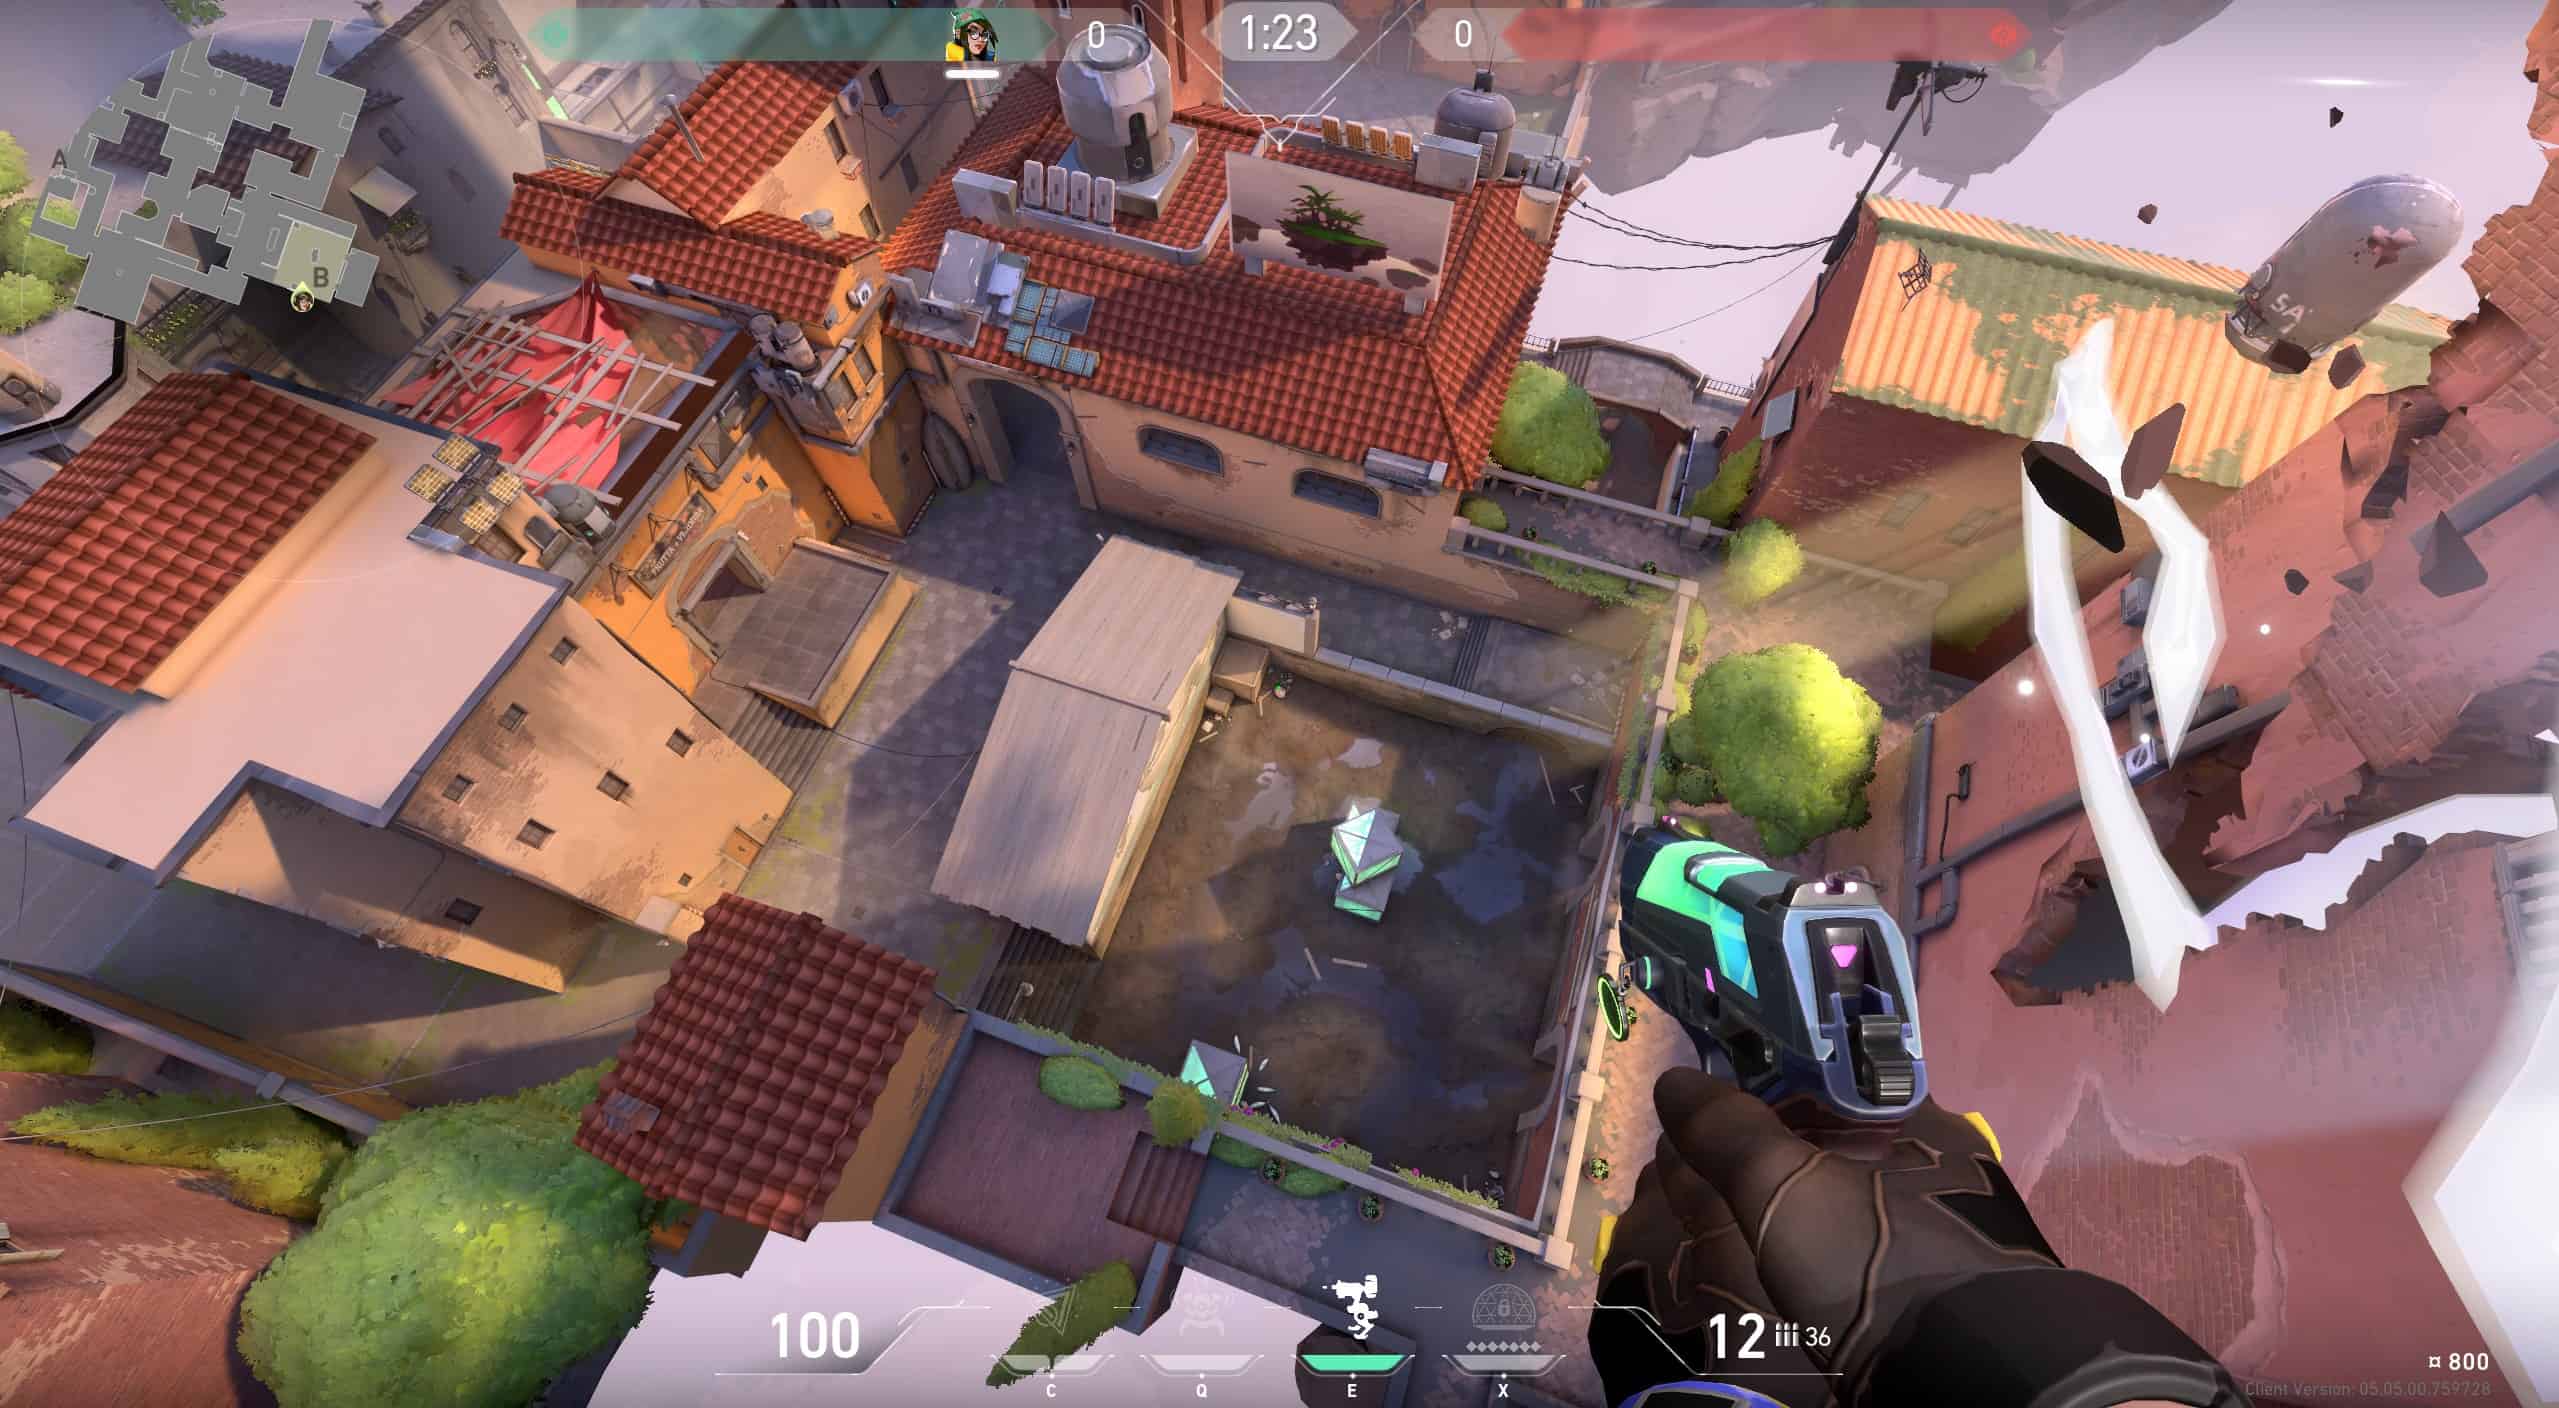
Attacking A Site
The A-site is usually the first choice of attackers, but it might be a bad idea to rush into the A-site in the pistol round. The long-range shooting from the ramps of heaven and fast rotation from mid will make it difficult for you to easily gain entry to the site and plant the Spike.
Instead, you should wait until you get a buy large enough to buy your abilities and an average gun like Spectre or Ares. If you’re on eco, then make sure one of your teammates buys a Marshal to keep an eye on the ramps from the main.
Gaining entry to A site requires smokes. You need to smoke the Door, Heaven, and Hell while peeking to the right as soon as you rush from the entrance. Plant the Spike right away as your team holds off the enemies on the site. There are few places to run if you are defending the site and the enemies rush in. The defender will panic and start spraying like crazy till they’re shot.
If you go near enough in A Tree, you can also hear what’s happening in B Market. The design of Ascent’s maps encourages a lot of strategic back-and-forth between competitors.
A Site is a wide-open location, yet there are several potential entry points for attackers to clear out before they can establish full control.
Planting near the generator serves as a great area to cover from the angles of Hell and main, which are the two most common hiding spots for Ascent. Make sure you close the Door as soon as you gain entry to the site in order to block the sight of your enemies rotating from mid.
You can hide at the end of the ramps near the glass or hide in Hell to kill enemies rotating from mid without being noticed.
Attacking Middle
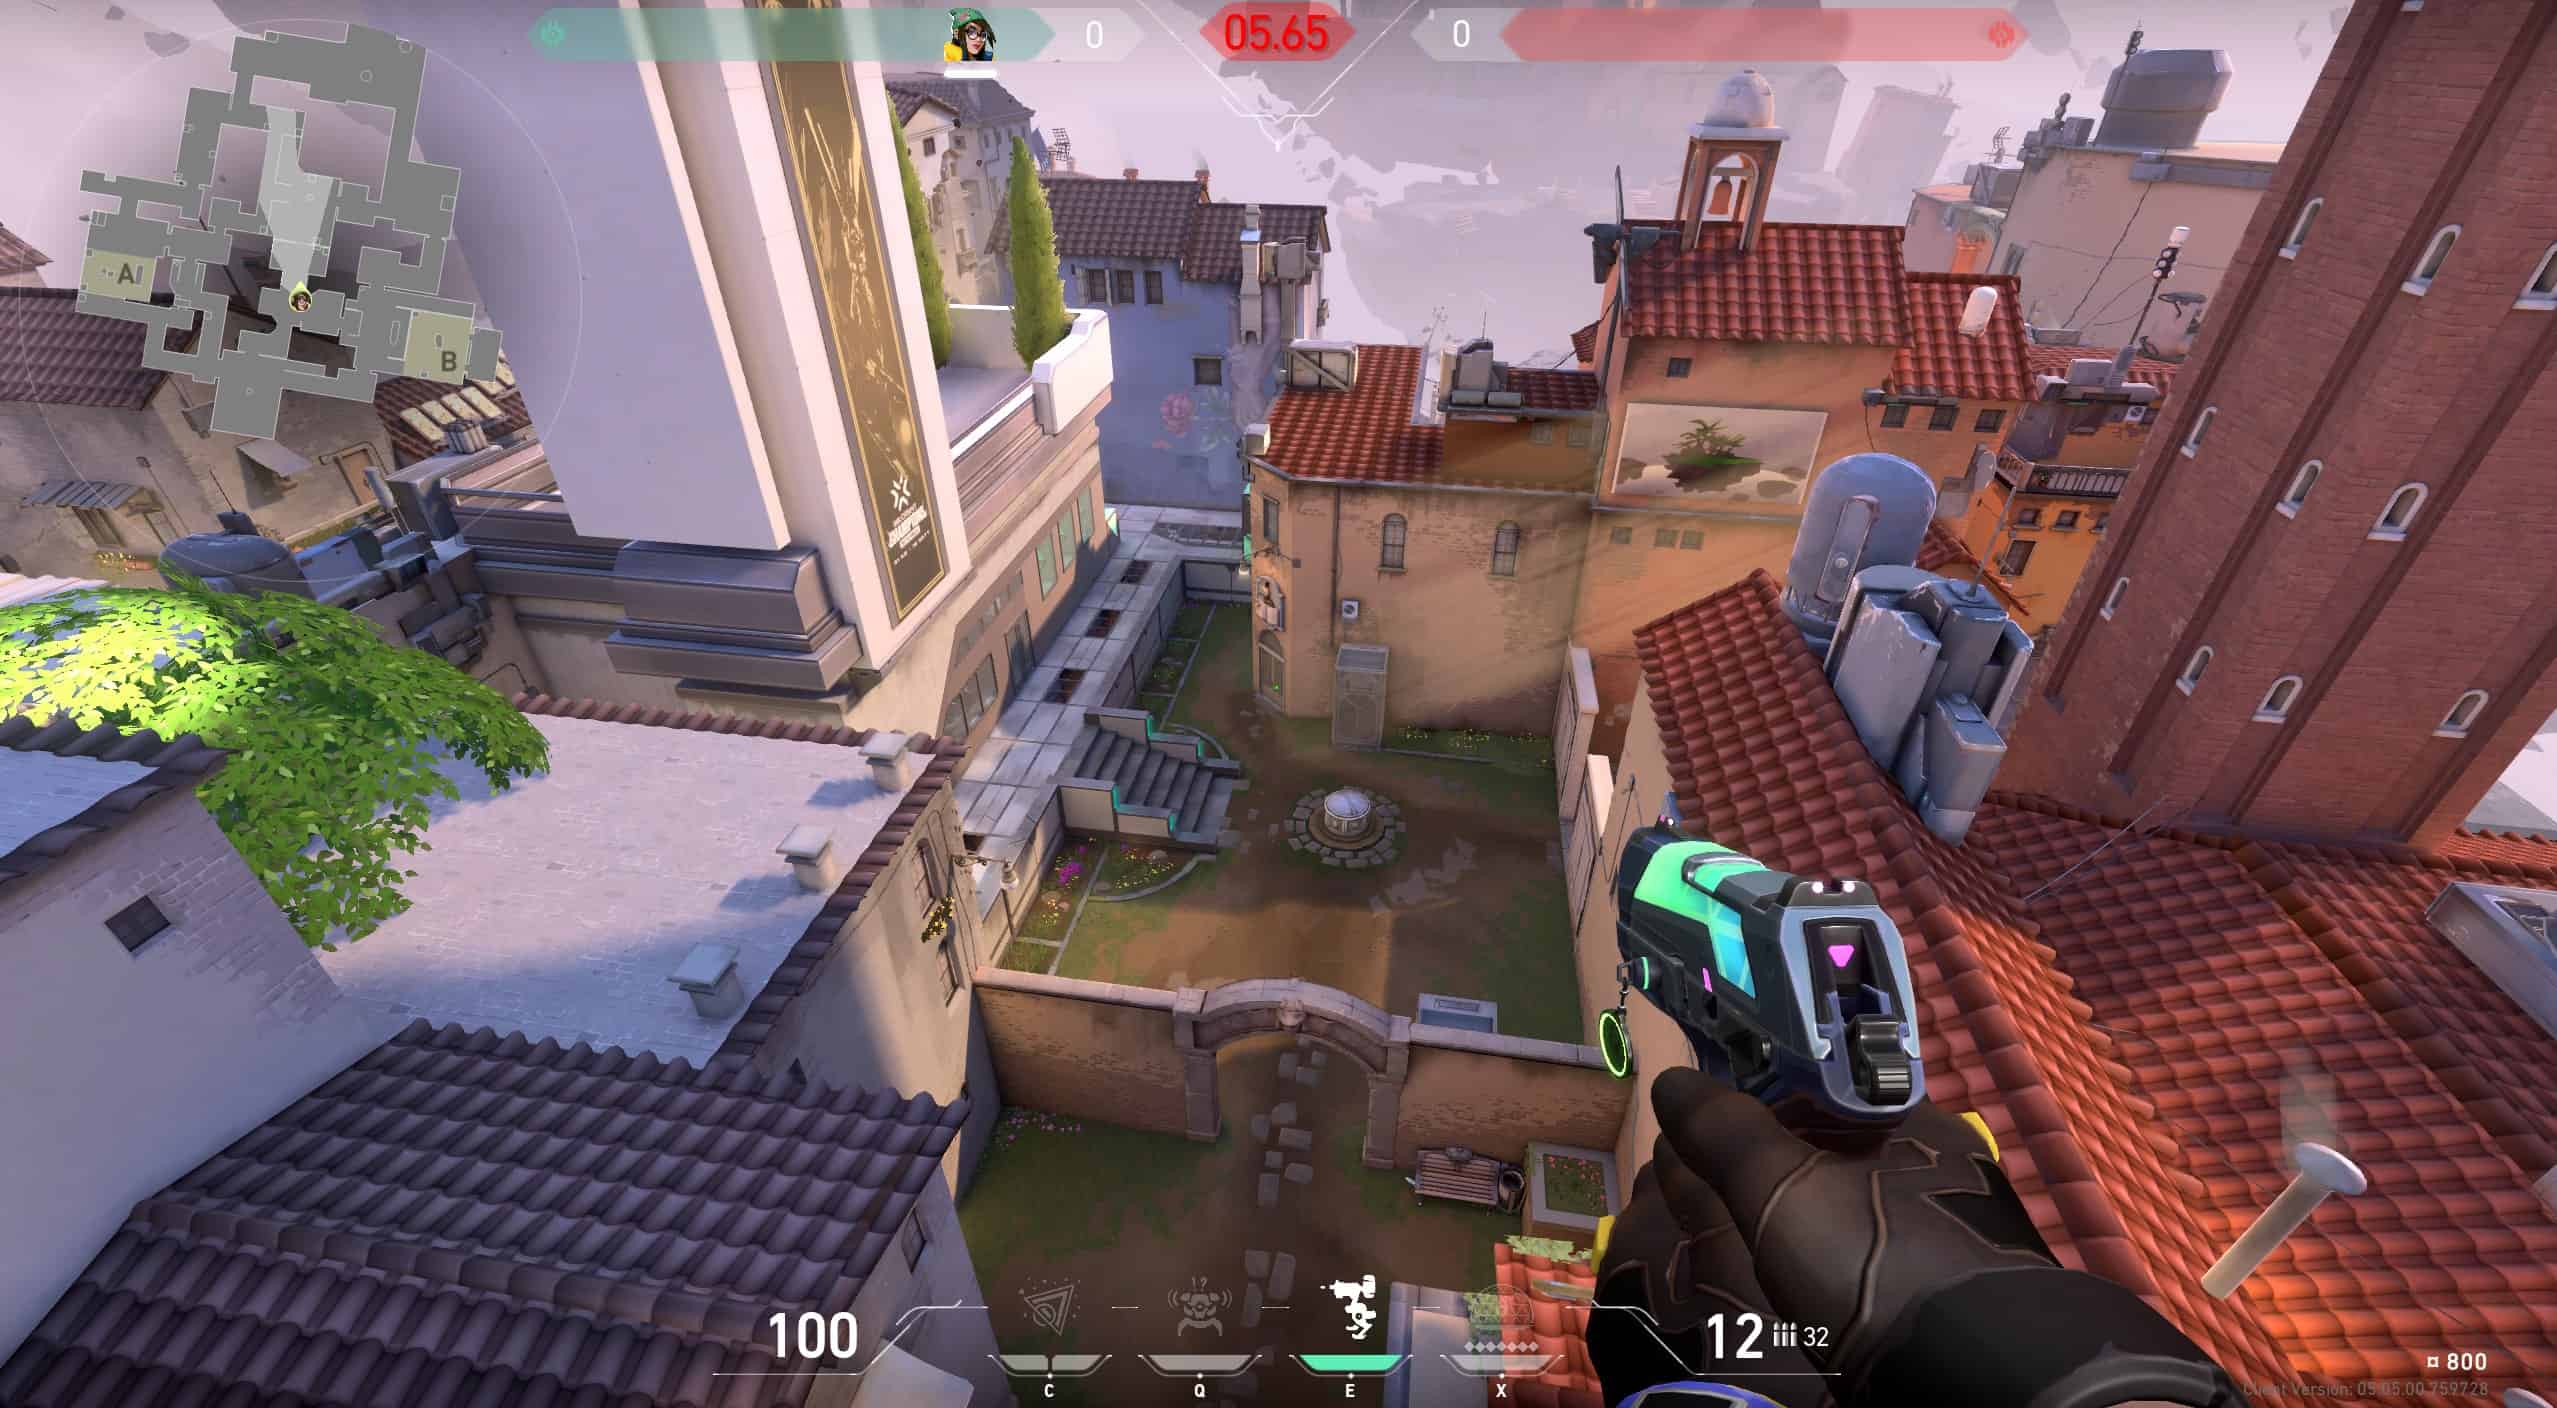
There are two entrances to Mid from each end of the map, one being mid of A while the other being mid of B. Attacker’s Mid of A overlooks Mid of B of Defenders, while Defenders Mid of A overlooks Mid of B of Attacker’s side.
It serves as a great spot to op. Defenders get an early peak of Attacker’s A Mid, while attackers get an early peak on Defender’s A mid. If you find your enemies leaving mid-unguarded for a few rounds, you can walk from the catwalk and infiltrate A while your team is trying to rush from Main to get a tactile advantage on your enemies.
Similarly, you can infiltrate B-site from the market by infiltrating B-mid, which is sometimes blocked by Sage’s wall. You can either break the wall or jump over it if your character has the ability to.
Entering Mid of B unnoticed will provide a lot of advantage to backstab your enemies or shatter their rotation to either site as Mid of B directly opens in Defender spawn. Be careful, though, because the catwalk makes a lot of noise if you run over it, and the whole of Mid is the most exposed part of the entire map being visible from four ends at a time.
Flashers can help you gain an advantage on Defending operators who get early peaks. Simply ask your friend to flash as soon as buy time ends, and you’ll get the advantage of peaking first.
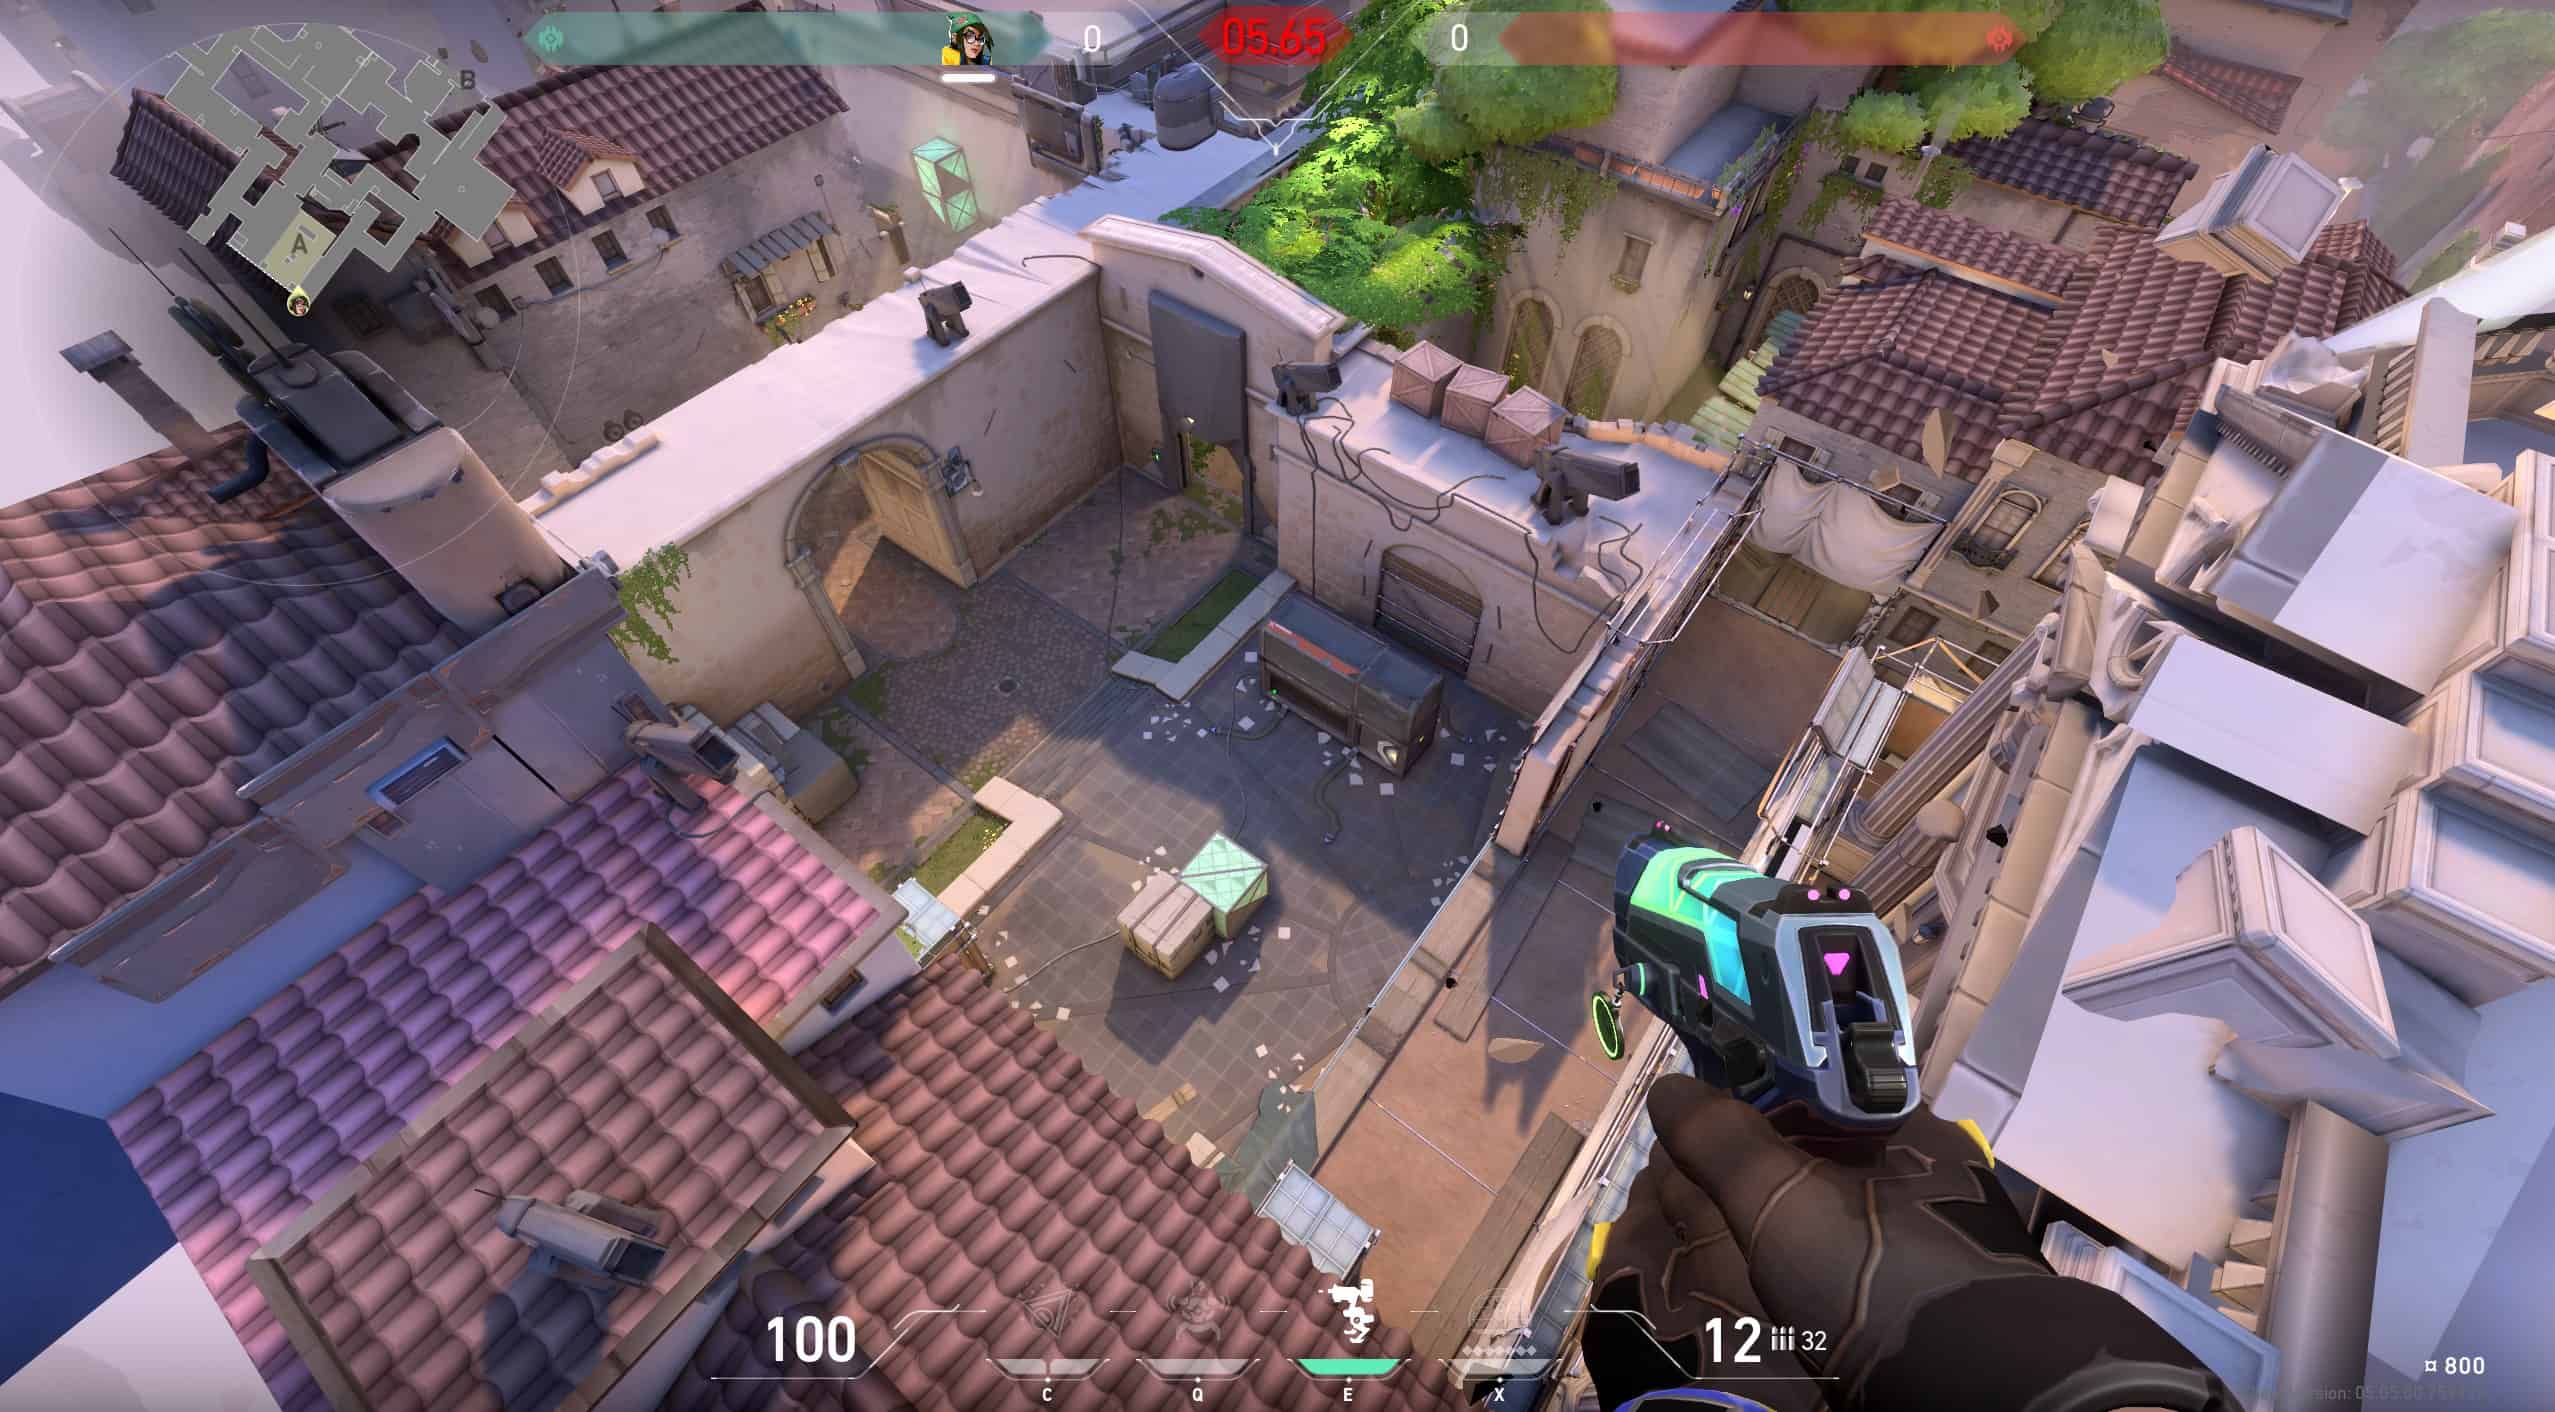
Attacking B Site
The B site is a great site for attackers whose enemies are sharpshooters. The site has tight corners, so players that excel in close quarters will rule the site.
There are difficult angles to cover at the B Site, such as the wooden planks at the B Market entrance switch and the corners by the boathouse and the switch (B Market door switch). B Main’s walls are paper-thin. This means you can easily wall bang with an Odin or Ares at B main to damage any players standing on the ramp.
As mentioned above, I always fake my pistol round as my teammates are making noise at A-site; I quietly make my way to B-site, plant the Spike and start defending it with my frag grenades and turret.
Enemies have three entries to the B site, post-plant, which include the path from defender spawn, market door, and B main. You need to cover all three entries after you plant the Spike because defending the bomb from inside the site is very risky and will most likely result in failure if the defenders are more in number.
The B site has a swampy floor, so you can loudly hear any movement that players make on the site, which will help you gain a tactical advantage on when to peak.
You can hide inside the site, in the B back, which serves as a great place to hide as Viper after ult-ing the entire site. While the corner boxes also serve as a great way to catch your enemies off-guard when they are rushing to the site through the ramp, this place has become very predictable.
How To Defend In Ascent?

Defenders need to care for each site, along with the Mids of each site, to ensure that the attackers don’t infiltrate from either side. Walling B Mid by Sage is a great way to get an additional player to leave their post on mid to provide support in another area.
Chamber traps and Killjoy’s alarm bots work great in stopping enemies’ fast rushes, while Sova’s recon bolt and Skye‘s abilities help in locating enemies.
At the beginning of the round, gathering info should be your first priority. Make use of utility to stave off oncoming rushes and give your squad more time to move across from the other bomb location.
It will be much simpler for you if you can contest Mid control and have the enemies use the narrow A and B major entry to reach you. Although there are times when playing retake is the best option, you shouldn’t be afraid to make aggressive moves with utility in order to catch your opponent off guard.
If you suspect that enemies have successfully taken over a site, the best approach is to stay back a bit, regroup with your rotating teammates, and attack from all available directions at the same pace as your teammates.
Defending Site A
Defending Site A in Ascent is easy if you know how to play your cards right. The ramps serve as a great place to op main, but you need to make sure a teammate is guarding A and B mid; otherwise, the enemy team can easily walk behind you and kill you.
The generator and Hell serve as great covers to make your enemies think that the site is clear and you can strike at them when they least expect it.
You can also rush from the main and hide at the wine/end of site A to jump your enemies, be careful, though; this technique will work only once before your enemies start checking corners before rushing.
If you feel that enemies have gained an advantage on Site A, then your best bet is to fall back from heaven to your spawn. From here, you can devise a plan with your team, ensuring that one group rushes from A main will surprise your enemies, and you can easily retake the site.
You need to move quickly, though, while retaking the site smartly is not difficult; once the Spike is planted, you need to act quickly; otherwise, you might have hold of the site but not enough time to defuse the Spike, which will result in you losing the round.
Defending Middle
Defending the middle of Ascent is easy. You can either have controllers on each side to hone off enemies by stopping their rush, or duelists can aim at entry points with the operator or marshal to get easy first bloods as soon as the game begins.
Many people in iron/bronze/silver lobbies tend to ignore mid, which is a huge mistake. If enemies take control of the middle, they can rush in on any site and gain the upper hand to not only plant the Spike with ease but also completely shatter the team by intercepting the rotation.
In case a player defending mid dies, make sure to replace their position with another player to defend mid since it holds importance in flipping a match.
Mid of A and B for defenders has a lot of corners, so if you want to take down multiple enemies at once, you can portray that mid is left undefended and wait for enemies in a corner to take them one by one when they rush through.
Defending Site B
I handle Site B with Killjoy alone, and I can easily hold off an entire 5-team rush with her. Mainly because the entrance to B-site is compact, and you can gain the upper hand with the turret, frag grenades, and wall banging from the site to tunnels to stop a rush.
Odin and Ares play a huge role in stopping the rush. While the enemy team may pass homophobic comments toward you, the best thing is to ignore them and spam your Odin away! A controller works best for handling B-site while a duelist or Sage can hold B-mid. Sova’s recon bolt through the top window of tunnels can help locate rushing enemies with ease.
The best way to stop a B-site push is by ensuring that the enemy team never makes it out of the tunnel. A controller can easily stop their rush from the front while the players are defending A-site and mid and quickly backstab to stop the team from rotating.
In this way, you can sandwich your opponents in the tunnels, and they’ll have nowhere to run. They will either rush and die or wait it out, which will be of no use since they are on a timer before the Spike can be planted.
Let’s check out the best and worst agent selection choice you can make for Ascent.
Best Agents For Ascent
Killjoy

Killjoy is a self-sufficient agent with enough tools in her belt to handle one site entirely with ease. As I mentioned multiple times above, I main Killjoy in Ascent, and let me tell you, I work as a controller as well as a duelist. Killjoy’s turret is extremely useful; it damages enemies, distracts them, and can even be used to spot where enemies are rushing from.
I consider Killjoy an S-tier agent, especially for Ascent.
Jett

Jett may reach her full potential when playing with skilled allies on this map. With the aid of a Breach or Omen, Jett may do devastating damage to her foes. Using an operator with Jett on Mid will make you untouchable. You can shoot an opponent and quickly dash, then peak again to get extra kills.
Alternatively, Jett can also peak with Operator in A site ramps to care A main, doing a similar action as mid, i.e., shooting players rushing site A and then dashing to cover and preparing for the next shot.
Phoenix

If you are well aware of your situation and your opponents, Phoenix is a very effective choice. In most cases, it’s not a smart idea to send Phoenix out on solo missions; you’ll have more success if you work with the rest of the squad. In addition, Phoenix’s Run It Back ability may clear the path for the whole squad whenever possible.
Phoenix’s flashes can help you escape the operator in the sites or mid, helping you create a path to overpower the operator.
Sova

Sova’s exceptional capacity to acquire accurate information about foes is still pretty astounding, although his utilities are now a touch on the pricier end. Moreover, Hunter’s Fury and Owl Drone are crucial for the Ascent map, as is Sova’s usefulness post-plant. You can utilize recon arrows and the drone to gain intel on enemies’ locations.
Sova can easily assume the role of midfield leader on offense or defense. Enemies camping near the bottom of Mid or a cluster at Top Mid may be exposed by a well-placed recon arrow. Catwalk or Mid Link rushes can be stopped with a shock arrow.
While Sova battles for access to sensitive data, Jett may exert dominance by using one-way smokes and making her way into enemy territory.
Worst Agents For Ascent
Reyna

Reyna is less preferred than other agents because she has no abilities that can make her useful on any site of Ascent. Mid has a ton of covert nooks and crannies where opposing players may hide from your blinding glare or simply shoot you in the face.
Furthermore, even if she manages to grab a kill and use Dismiss to escape, mid is so massive that she may not survive.
Yoru

Yoru is only very good in a few spots, like Icebox and Breeze. To be successful, he needs expansive areas with plenty of covers. Therefore the more room there is, the better. So, there’s nowhere for him to go in confined sites like Ascent.
Yoru’s flashes won’t have any benefit for mid-operators because it takes so long to explode that it will either flash teammates or allow enemies enough time to escape the flash.
FAQs
Question: Is Ascent The First Map In Valorant?
Answer: Yes, Ascent is one of the first maps added to Valorant since the game was released, along with Bind, Haven, Split, Icebox, and Breeze!
Question: Is Ascent defense or offense sided?
Answer: Ascent favors the defenders more than the attackers. Proof of this claim is that Ult orbs are easier to collect for attackers so that they can get their ultimate abilities ready earlier and easily gain site access.
A well-placed defense formation and accurate gunplay can shift the game entirely to the defenders’ favor.
Question: Which City Is Ascent In Valorant?
Answer: Ascent in Valorant is based in San Marco, Venice, Italy. Ascent appears to be a part of Venice, Italy which rose up after a spike was detonated in the area, according to Valorant lore.
Ascent Valorant Guide: Conclusion
Ascent is part of Venice, Italy, which has risen to the skies due to a spike detonation with a huge clearing in the map’s center that may serve as a battleground for both sides. By giving Attackers new pathways to both Spike locations, Mid serves as a testing ground for a wide variety of abilities.
The map is not short like Spilt or large like Fracture or Pearl. It has been carefully developed, so much so that throughout Valorant’s updates, Ascent has never been shifted in any way. There have been minor changes, such as changing types of boxes on A site to allow wall banging; other than that, the map of Ascent has never been altered since the game’s release.
I hope you enjoyed reading this Valorant Ascent guide. Make sure to follow how to defend and attack Ascent to get an edge on your opponents!