

- Valorant vs Apex Compared - January 11, 2023
- Ascent Valorant Guide - September 22, 2022
- Haven Valorant Guide: The Unique Three Site Map! - August 18, 2022
Valorant was released in 2020, and it has become a mega-hit since then. Its reputation skyrocketed within a few months due to a multitude of reasons. While the game had similar aspects to some of its competitors, Riot was sure to bring some changes that would make Valorant stand out as compared to other PvP Shooters.
One of the significant differences we saw in Valorant was the variability in design and the freedom to play around with map objects and powers to gain an upper hand on your enemies. Haven was a significant contributor to making the idea work, and since its introduction, it has been one of the most exciting maps to play on.
Haven stands out from the rest of the maps in the game, you might hate it or love it, there’s no in-between. This map (unlike a few others) does not favor the defending or the attacking side. Both sides get the equal opportunity to turn the match in their favor.
There are many exciting things about the map, and this guide will take you through each one.
First, let’s look at its history:
One Of The First Maps In The Game
Haven is one of the maps that changed a basic stereotype in first-person shooter games. While competitors like Counter-Strike: Global Offensive only focus on two bomb sites on a map, Valorant was the first game to introduce three of those in Haven. Since its introduction on April 7, 2020, Haven has been a beloved map in the community.
Haven is a lovely map consisting of planned architecture and much greenery. Situated in Thimphu, Bhutan, Haven is a true representative of the country’s culture. Plenty of things give it a historical look and explain the involvement of Kingdom Corporation there.
For example, the map has plenty of Radianite crates everywhere. However, the B Site has the most significant number of those crates. There’s even an underground storeroom for the precious element, with a way in from the console station.
Skye feels a lot of sympathy towards the location. Being the ‘nature girl,’ she can feel Haven’s pain because of the Kingdom Corporation’s actions. There’s plenty of evidence of her emotions when she says:
“I can feel what this place used to be. It’s dying! What a damn shame…”
– Skye, Match Start on Haven
Map Layout
Haven’s three-site layout is what makes it unique and tactical. There are plenty of options for both attacking and defending sides. The numerous angles make it an exciting map to play on every time. Here’s a quick tour of all the locations on the map:
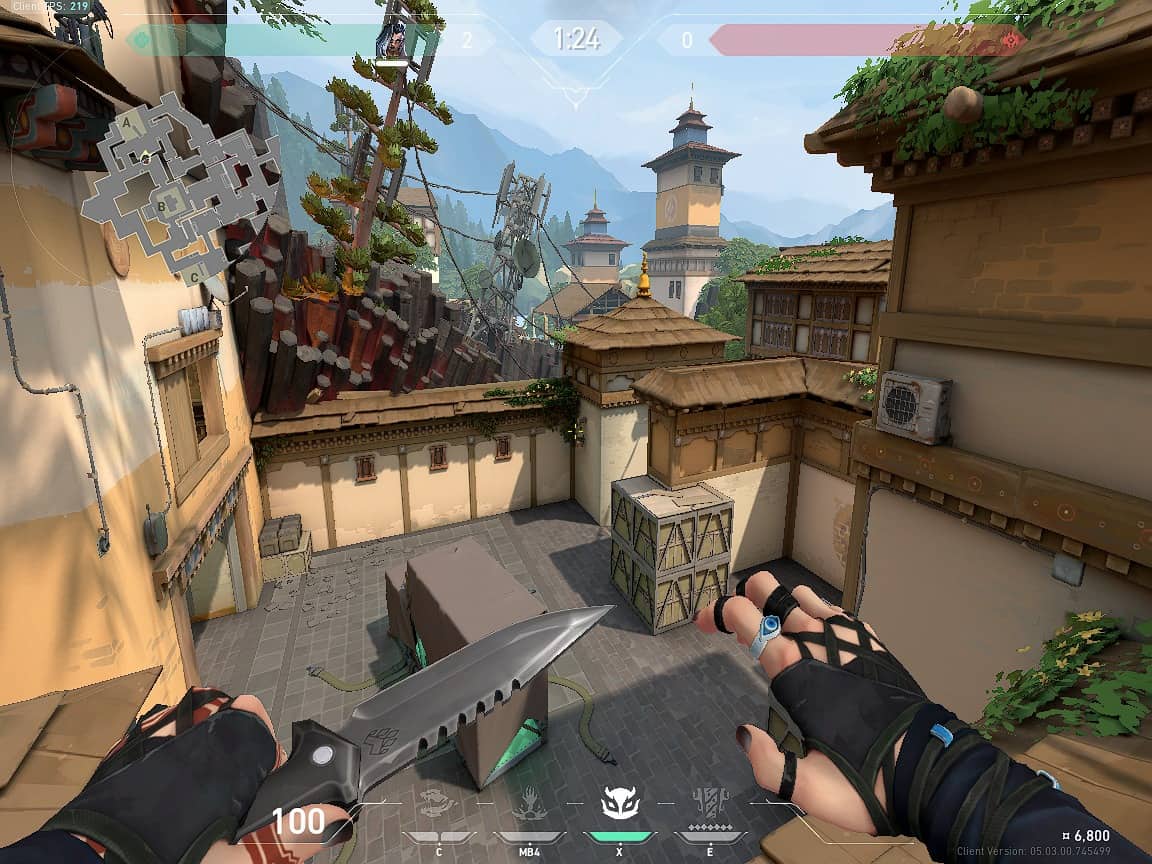
A Site
The A Site has comprehensive cover for both teams in their respective scenarios. From the Attacker Spawn, two ways lead to the site. A Lobby leads into a long pathway known as Banana. The A Main goes straight into the site, and there’s also a tiny Cubby beside A Main.
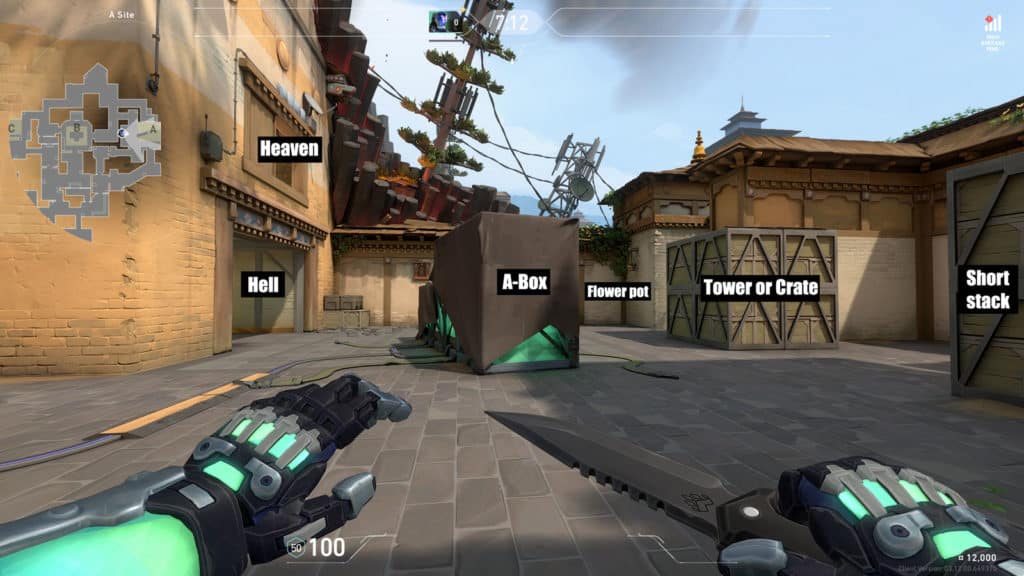
The Flower Pot is in the immediate right corner, a perfect spot for surprise attacks. The shorter side is Sewers, with the Short Stack on the left for cover and Tower right at the junction of A Main. The site has plenty of crates bearing the Kingdom Corporation’s logo named the A Box. On the left side of A Box, A Back is present, where many players prefer to camp post-plant.
From the Defender Spawn, two paths give the site’s view. A shorter path called Yellow goes right into the site, while Heaven is the longer route and provides an aerial sight, optimum for snipers. Right beneath Heaven is Hell, a short space that gives ample protection from all sorts of attacks.
The Attacker side has plenty of space for making short lurks. A few boxes at the opening of the corridor are great for a quick sniper to peek. Further along in the alley for A Main are three other hiding spots that are useful for more hide and seek strategies.
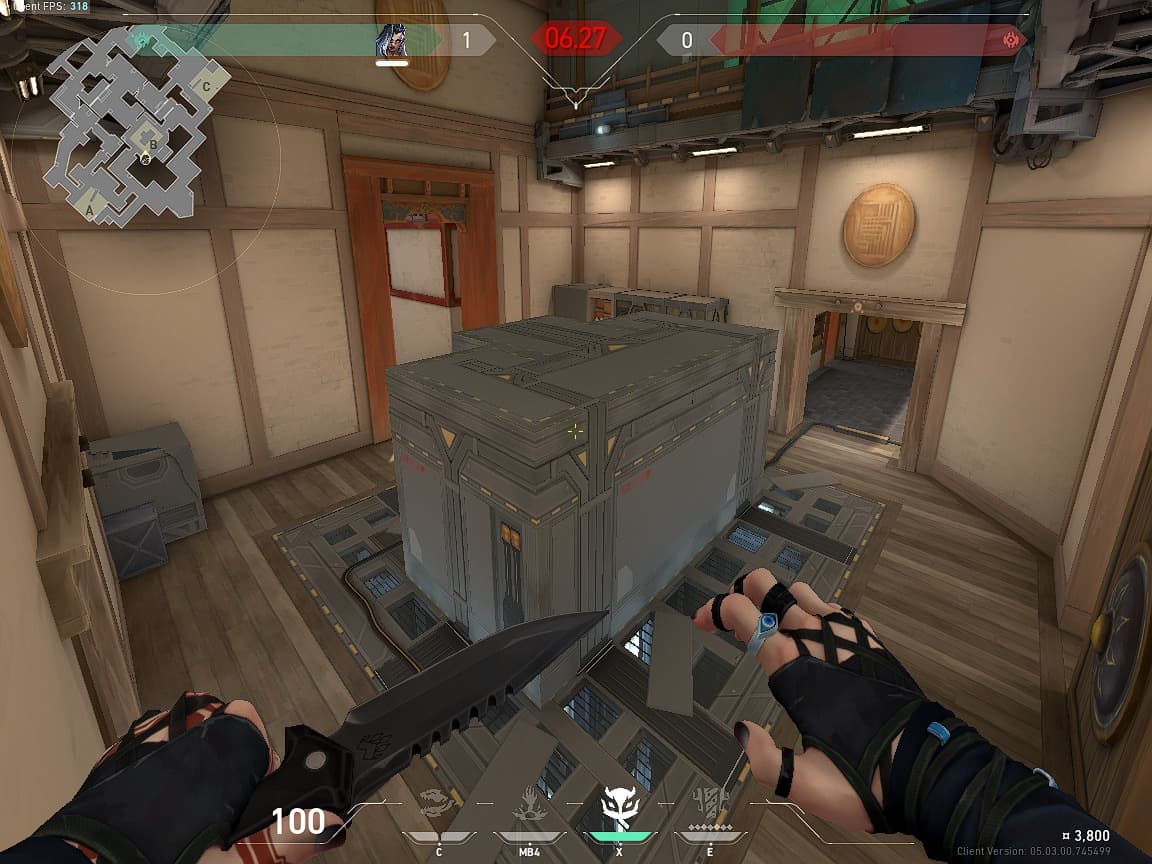
B Site
The B Site is more tactical and requires careful planning. It has three main routes of entry, one from each side. From the Attacker Spawn, the Window and Highway provide an extensive route of attack. However, a Sage wall can easily block a rushing team in its tracks, giving you the time to organize and plan a counterattack.
The entrance from C has three ways. One comes from the Defender Spawn, one from C Garage leading to Targets, and the other from C Ramp. The C Garage is a more threatening area to cover as a flanking opponent may jump up the window without making noise and take out unsuspecting allies.
There are two ways to enter the B site from Defender Spawn and the A site. While many defenders tend to cover both angles if the A site gets compromised, it’s easy to take them down and hold the entire area for retaking tactics.
Inside the site, there are plenty of hiding spots. A center Box takes up all the room, giving Attackers and Defenders an area to hide and eliminate enemies by surprise.
Behind the Box is a small hiding place named Gong, with a wooden board great for playing around with enemies. Boxes in the left corner, also called Stacks, give agents like Jett and Omen the sweet spot to stay hidden and pounce on enemies too eager to complete their objective.
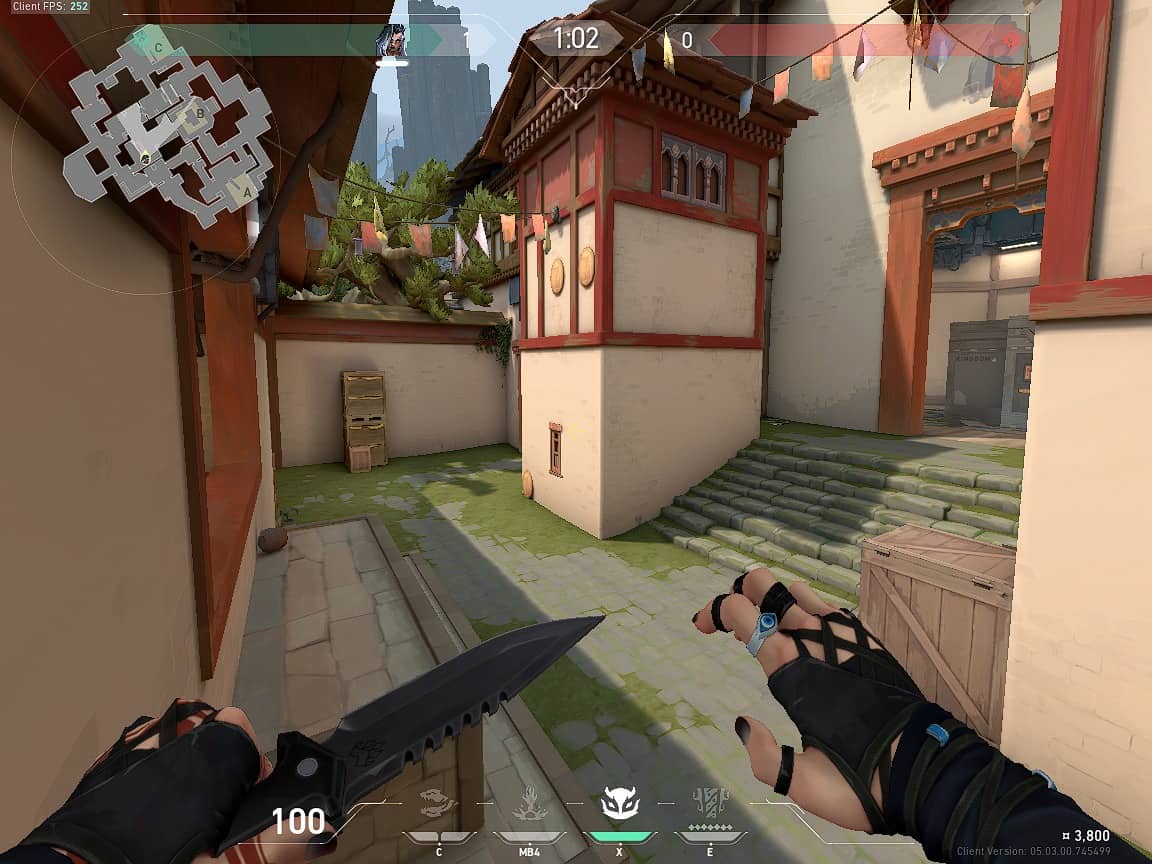
C Site
The C site is a more challenging area to cover. The Attacker Spawn leads to the Square, and a Dragon opens right into C Long. While there’s C Long to cover with a good weapon like the Vandal or Operator, the Connector from C Garage remains a potential opening for Attackers to rush.
The C Long has a small hiding spot on the right side called C Cubby.
On the left side of the C site, right after C Long, there’s a stack of crates named Front Pillar. Right behind these crates is the Connector.
At the center is the planting area with more crates called C Box. Right behind the C Box is the Back Pillar, and on the right are the Logs. There’s also a Platform that is a good spot for snipers and lurkers to play around.
Middle
The B Mid is an important strategic location. It has plenty of spaces for the players to contest sites, and the team with a more vital force can easily dominate the round from this location. The Defender side doesn’t have much to work with, as there’s only B Site that opens into B Mid.
However, the Attacker side has some options. Players can linger around the Garden towards the A site from the Spawn. They can then make their way into the Window, which has a weaker wall prone to bullets.
Right beneath the Window is the entire Mid for the taking. There’s a small Mid Cubby in the right corner, and Mid Stairs lead into the site from the front. A small corner on the left known as Mid Side can be helpful for defenders to sneak in and eliminate resistance.
Another route named Grounds leads into the space known as Grass. In front of Grass, there’s a door with dynamic panels. Players can shoot these down to reveal a wooden door penetrable to bullets. There’s also a C Mid for distinguishing precise enemy locations.
Leading up to the C Garage is usually called Highway. The Garage has a few spots: Doors, a Nest in front much like a Window, a Triple on the right, and the Connector on the left.
Haven’s Official Record
Valorbuff has some interesting statistics to report about Haven. Maps have a fascinating way of rotation in online matchmaking, but it remains balanced in most aspects. So, almost every map has an equal rate of total matches played on it. Only Breeze has a slightly lower percentage of 13.1%.
Regarding Attacker wins, Haven boasts the highest percentage, with 51% of matches won by the offensive side. Breeze and Icebox trail by a close 50.9%. Fracture, Bind, and Ascent is next in line with an Attacker win percentage of 50.2%, 48.4%, and 48.1%, respectively.
For the Defender side, however, Haven has been quite disappointing. It is at the bottom of the list with 49% wins. The maps switch orders, and Ascent becomes the highest scoring map for Defenders, at 51.9% wins. Bind and Fracture come in next with 51.6% and 49.8%, respectively. Icebox and Breeze have the same paper-thin lead over Haven with 49.1% each.
Regarding agents, Brimstone has been the best pick for Haven. He boasts an impressive win rate of 49.9%. Killjoy comes in next with a close 49.7%. Phoenix, Raze, and Reyna are the other best agents on Haven, with a win percentage of 49.6% and 49.2%, respectively.
Reyna has the highest pick rate out of five agents at 58.4%. Her other two contenders for this position are Sage with 56.5% and Chamber at 55%. Omen and Jett are next in line, at a pick rate of 47% and 44.2%, respectively. All of them have a close win percentage, however.
How to Play Haven
Like other maps, Haven requires strategy and implementation. Players cannot go out and wreak havoc on the other team. Making decisions in the Buy Phase is necessary, and the team with the proper planning gets the round. Here are some ways players can score the game on Haven:
A Site
Attacking A is quite simple at first. One should peek to see if any daring players would try and contest that angle from A Ramp. The team can also wait in the Garden to see if a Defender tries to rush through the Sewers. Once the coast seems clear, they can push through the Lobby to gain more control of the site.
Once in a stronger position, a good Omen or Brimstone main can smoke off important locations like Yellow, Heaven, and Hell to give their team some cover. With some flashes, it shouldn’t be a problem getting on the site and planting the spike.
If someone is playing Sova or Fade, they should try to get information about the enemy’s whereabouts and bring them out of hiding with their kit.
After the plant, it’s an easy game to wall off either A Ramp, Sewers, or Yellow with Sage’s wall. Holding important angles that give a good view of Heaven can help secure the round.
On the other side, Defenders also have a good chance of ensuring the enemy doesn’t get into the site. Using smokes on Banana and right outside Sewers can help push the enemy off. A quick peek from A Ramp and Tunnels should initially give them all the information they would need.
If the enemy manages to take the site, Defenders should wait a bit before planning what to do. A lurk should always be on the loose to take out stragglers and make way for a flank. Entering from Heaven and A Main/Sewers would be an excellent way to retake the site and complete its objective efficiently.
B Site
The B Site is a piece of cake for Defenders to hold. Using Sage to create a Barrier at B Main is the simplest way to keep enemies away for some time. Taking peeks from an off-angle like Sage’s wall or getting up on the Box with Jett or Omen might get some surprising kills.
Another critical task for handling B is to take good care of C Garage. It’s one of the biggest reasons Defenders lose so many rounds on B because C Garage remained unchecked. With good teammates on A Site, defending at B shouldn’t be a big problem.
However, attacking B requires precision. Peeking Window at the beginning should be a good way of knowing which agents are present in the B site, and a suitable plan can work afterward. Using Raze’s grenades is an excellent way to clear enemies out of the site, or you can always hunt them down.
In a site with multiple entries, a good flash is necessary. In that regard, Yoru is the best agent to consider. His flashes are helpful to blind both angles, making enemies leave the site unguarded. With the spike in position, defending it should be an enormous task. Therefore, using Sage’s wall just like the Defenders and hiding would be a better way of securing the round.
C Site
Haven is the only map to feature three planting sites. Therefore, the C site always remains a threat for the Defenders. In a suitable tactic, using an Operator for C Long works best. It’s easy for both teams to bring out a sniper from C Ramp or Dragon, and the player with better timing wins the duel. It’s also possible to smoke it off through Omen or Brimstone’s help.
Watching Connector is also a significant duty for the Defenders. Most players like to score a kill from C Nest using a Vandal. Using Sage’s barrier on Connector might also be a good idea.
C Garage always has an Attacker nearby, so leaving it unsupervised is never advisable. Even if the spike gets planted, Defenders can flank from either Dragon or Connector. A player sits at either Front or Back Pillar almost every time, so using the proper utility might be beneficial in these areas.
From an Attacker’s point of view, a simple plan of attack for C is to rush through Dragon and C Long. Two players in Garage should be enough to take care of the Defender watching it. One can climb up into C Nest to take care of rotating Defenders while the other waits for a push into C Garage.
Defenders like to peek from either Platform or C Box at the round’s beginning, so quickly looking at these angles is a good idea. Once C Long is yours, you should flash your way in, take care of the Defenders in the site, and plant the spike.
With the main objective completed, it’s easy to guard it. Logs, Cubby, Front Pillar, and the site are excellent spots to hide and wait for the Defenders to come. Walling off either of the three entries by Sage would make it a good execution.
The Best Agents to Pick on Haven
Haven might look like an easy map, but if your team doesn’t have the right members, it’s a lost cause. Whatever the map is, victory is uncertain unless the team has the correct agents to help them progress in the match. Specific agents are more favorable to pick while playing Haven.
Although creating a team based on these individuals might not win you a game for sure, having one or two of these in your group is almost always essential. Here’s a list of the more effective agents:
Reyna
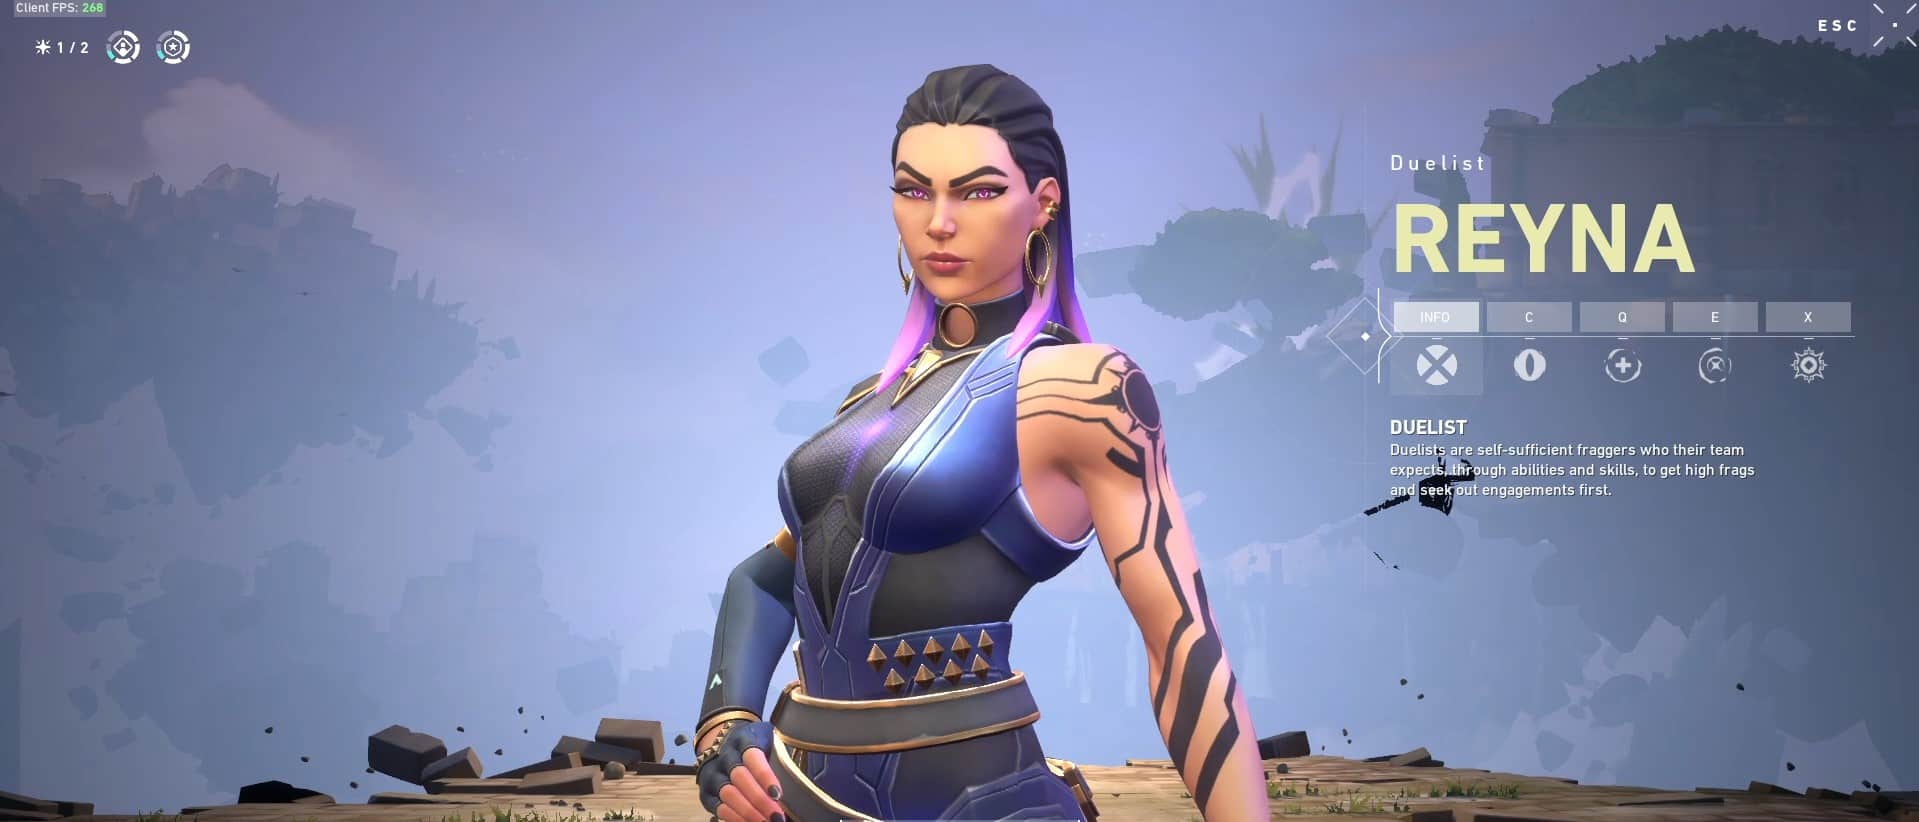
There’s no reason to count out Reyna on any map. She’s an agent whose performance speaks for itself. Reyna is all about skills, and only players confident enough about their aim keep playing with the agent and dominate every match.
Reyna’s abilities are all about her endurance. She can survive a round long enough to ensure that she completes the objective. That’s what makes her a viable pick for Haven. She can work her way into any site using her abilities. Reyna is such an effective duelist that she can push the opponents back without help from her teammates. That’s why Reyna remains one of the best choices of agents for Haven.
Raze
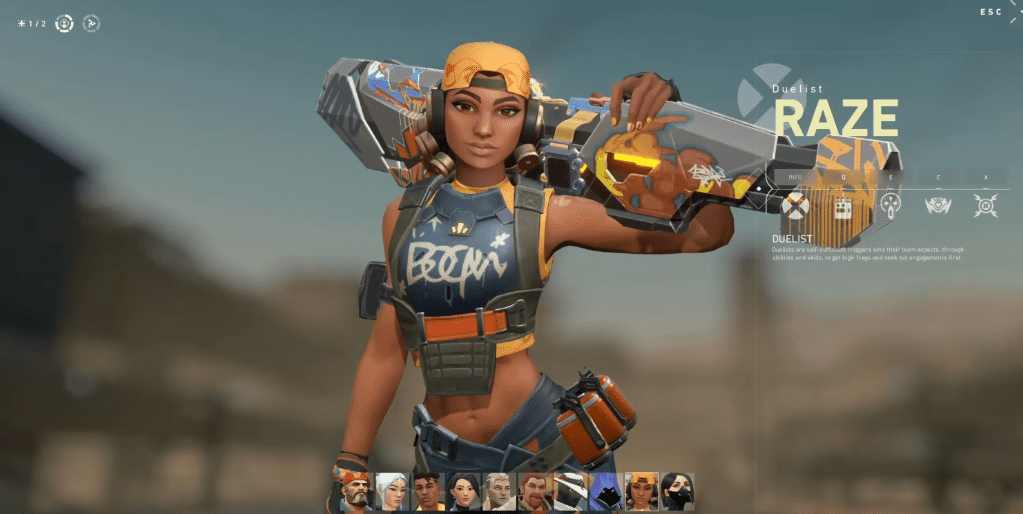
Using a bit of explosive never hurt the team’s morale, and that’s why Raze is also such a good pick for Haven. She can exploit choke points in the best way. One sound grenade can do all the magic for Raze, and that’s why many players pick Raze. The agent is all about aggression and contesting, so why not keep her on a short map to take out enemies from a distance?
Reyna and Raze have been the supreme duelists on many maps due to their abilities, and rightly so. Their combination is deadly. While Raze can flush enemies out of hiding with her kit, Reyna can quickly push and finish anyone in her way. With these two in a team working smoothly, there’s no chance for the enemy to turn the game around.
Whatever the conditions are, attacking or defending, full-buy or pistols, Raze is a good option for battle. Expert players know how to use their abilities without letting the enemy know about it. Therefore, Raze is a good option for those that know how to work with her.
Sage

While Sage may not be suitable for a few maps, Haven is where she can do everything. Her Barrier Orb is the most helpful ability to change the game’s course. For a defensive player, Sage is the best pick. No other agent comes close.
Sage can stop a possible flank into A and C sites with a single Barrier Orb at the B site. It’s such an essential tactic that many teams tend to use. With the wall in place, there are plenty of other things the agent can do. Taking out an enemy peeking Window is such a crucial and unpredictable move.
Her Slow Orbs are also helpful in slowing down enemy rushes through C Long. Timed deployment can hinder the enemy’s push, giving Sage’s teammates all the time to rotate and even flank. She can also call Raze to drop her kit at the location to provide a healthy dose of damage to the opposition.
Of course, Sage is best known for healing her teammates and reviving them for another chance in the round. There are countless rounds that a team won just because Sage was able to rescue or heal them. With Sage on the team, there’s always a hope that things can turn around in moments, and that’s why she’s a good pick for Haven.
Killjoy
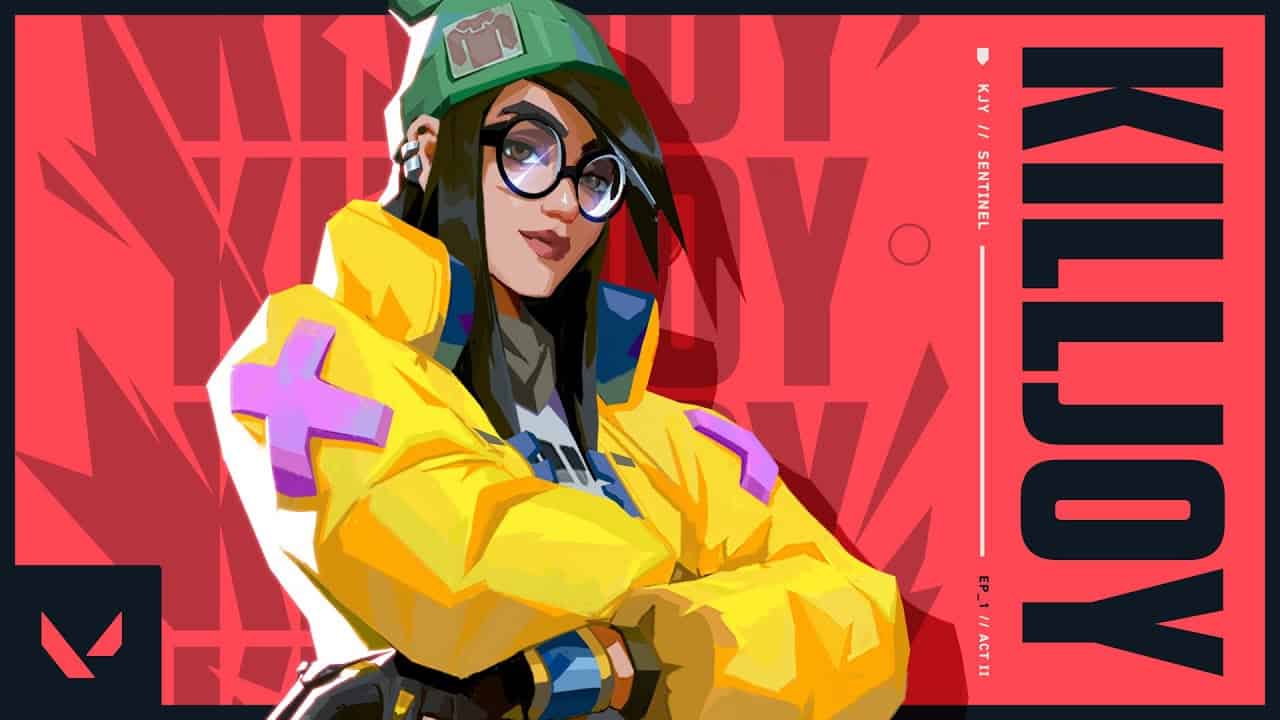
Among sentinels, Killjoy is an underrated pick for Haven. Players might have found a way to counteract her ultimate ability, but that doesn’t mean she’s not usable anymore. There are plenty of strategies to use around the character without making the game one-dimensional or boring.
Killjoy is a sentinel that doesn’t require much support. Her signature ability, the Bot, is enough to keep her company and safe. So many players die after taking damage from Killjoy’s turret. While this may be infuriating for some, it is worth noticing that in the right place, her sentry gun can rescue her.
The agent’s Alarm Bot is also an effective tool for looking out for lurking enemies. It’s an excellent way to watch multiple angles while keeping a distance from the ones on Killjoy’s back. The alert is also valuable for helping teammates take care of the flank while Killjoy remains in her position to take out the opponents in front.
The ultimate ability might have some baiting counterattacks in some games, but it doesn’t make Killjoy useless. It’s magnificent to push enemies out of a site and get the spike down. Killjoy can call her teammates to defend the place with her and ensure the round doesn’t slip away.
Sova
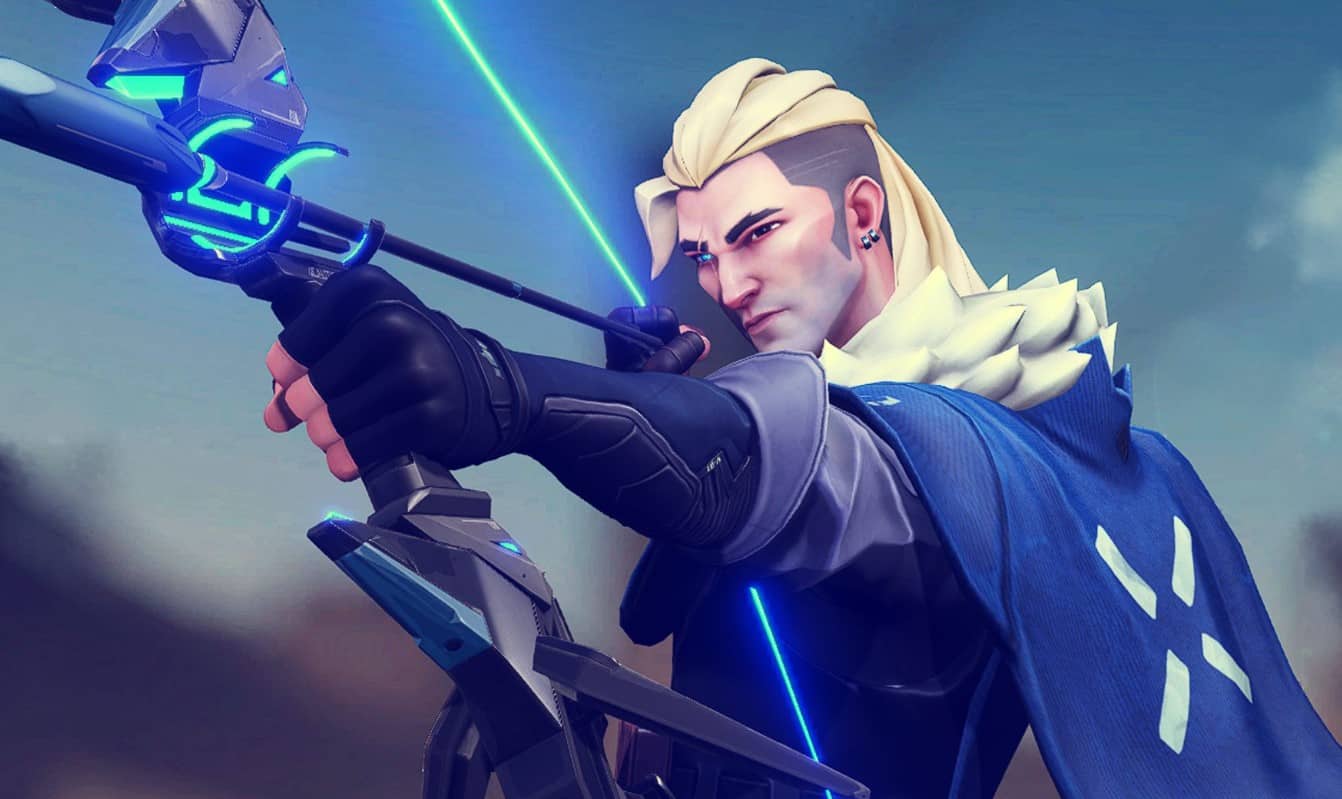
Sova works well enough on Haven for an agent that heavily relies on information. It may have pretty tight spots, but his arrows work just fine. The Russian agent can gain information about the enemy’s location with one Recon Bolt. Haven might be too tight for Sova to bounce it around walls. But there’s no skybox, so Sova can deploy it as high as he wants to land it in the area he wants.
Even if Sova doesn’t get all of the intel, he can always rely on his Owl Drone. It has a limited battery, so using it from a distance doesn’t benefit him. Besides that, the drone can see everything for Sova and even tag an enemy for some time. There’s a lot of information that players can use in a round.
With the information, Sova can plan his attacks. Whether the Shock Bolt or Hunter’s Fury, Sova can ensure much damage with his aggression. Enemies can try to escape from Sova’s ultimate, but if they take damage, players can easily guess the opponent’s next move, making way for an easy kill. Therefore, with the right amount of offensive play, Sova can be an excellent component for any team on Haven.
Omen
There’s a dire need for an agent to smoke off certain areas of the map, and Omen works best for Haven. While he has plenty to offer the team, his smokes alone make him a good pick. Other agents like Brimstone are suitable for the job, but Omen’s different abilities give him the edge.
Using the Shrouded Step at a good time is quite beneficial. Many players jump and deploy it in A Site to get to A Heaven. It’s quite an essential skill but can bring a lot of help to the team. Using such abilities to get into unsuspecting spots can be great to lurk into the enemy team without letting them know.
Omen’s Paranoia is another ability that makes him an initiator. He can always use a cloud of smoke to cover his tracks and stop the opponents. A well-executed Paranoia can help Omen’s teammate pick up a kill or two and fall back in time. The agent can also use it to blind rushing enemies to buy some time and get to safety.
With teleporting abilities, Omen becomes an actual menace for the rivals. Few other agents can make the enemies turn around in fear of facing Omen so close. It’s a small yet meaningful act of flanking that makes Omen a true nightmare for enemies on Haven.
Best Weapons for the Map
Haven offers plenty of angles to check and three sites to strategize. Therefore, one has no time to think about fooling around with players. Usually, players make the mainstream purchases in every round, and they work out almost every time. Therefore, there’s nothing much to ponder about if you’re looking to make a buy on Haven.
Pistol rounds are simple. The ones that like more action can bring a Frenzy or Sheriff in the first round, but it will require a compromise on purchasing abilities, so you need to be prepared! Using the Classic is good enough, but you can buy the Ghost if you want better headshots.
These two rifles have been the epitome of the game, and Valorant received a lot of praise for the Vandal and Phantom. Using the Vandal or Phantom is the best advice in a simple buy round. If you have a good buy, you can also opt for the Operator, which means taking the first peek at a distance and holding them for long times.
During half-buy rounds, you can always bring in the classic Spectre. The Stinger is an SMG that works like magic on this map, but most players prefer Spectre. Using the Guardian is sure to get you kills from afar, but if the enemy rushes in with Vandals in their hand, you’re getting deleted! Opting for the Bulldog or Ares is also a sensible idea.
Shotguns and Marshals are no good. They can only get you a kill or two in a few rounds, but that doesn’t mean using them all the time is a good idea. Only smurfs and nasty players like to use the Bucky and Judge on flanks, and Marshal is a sniper rifle suitable for the sharpshooters. So, if you’re just average, you should avoid these guns.
FAQs
Question: Is Haven a small or big map?
Answer: Haven is an extensive map. It’s around the same size as Bind or Icebox. Because it has three sites, developers had to keep each site on the map short. It would be challenging to do rotations on such a big map. Therefore, they had to squeeze everything in there. It’s a relatively compact map, with everything in the correct position and space.
Question: Which site is the most difficult in Haven?
Answer: The B site would be the riskiest place to go in Haven. Other sites provide a good amount of cover for most of the angles. However, the B site has a constant risk of getting caught in a crossfire. It’s also packed because of the enormous generator in the middle. Besides, the area has three entry sites with plenty of angles. So, it’s difficult to defend and attack B site in all conditions.
Question: What’s the best team to play on Haven?
Answer: A good team to play Haven would consist of two duelists, a sentinel or controller, and two initiators. Duelists like Jett, Reyna, and Raze would be a superb option. Sova, Skye, and Fade would make great initiators for getting information and creating battles. Omen or Chamber will be suitable as the final piece of the puzzle, as they’re great at defending sites all on their own.
Haven Valorant Guide: Conclusion
To sum it up, Haven is a unique map in many ways. If other maps in Valorant provide a hundred different opportunities for victory, Haven has several more. Its intricate three-site design with so many landmarks in between makes it the perfect place to play hide and seek with your enemies.
At first, many people thought the three-site idea was absurd and would not work in a game with fifty-fifty probability. But now, many players believe that they could create room for more strategies in Haven because of the more chances it makes.
There are plenty of things to look out for in Haven. Apart from close, open, and off-angles, there are plenty of callouts you’ll need to learn to remember and swing because you never know if an enemy is around the corner. Now is the time to get in the game and play Haven because it might not be around for long now. Riot Games took Split out, and soon, Haven could find a place out as well.